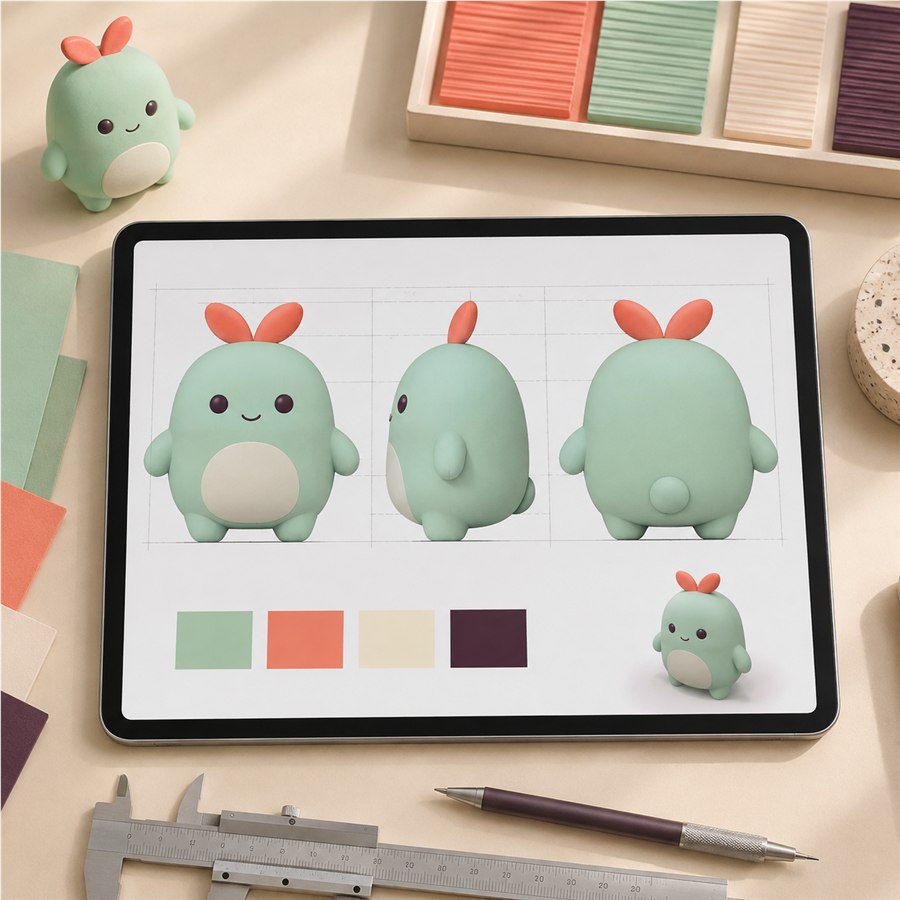
Pebble Sprout: From Artwork to Final Silicone Sample
Follow an original silicone character through artwork approval, 3D proofing, prototype tooling, one-cavity molding and final sample sign-off.
View the development steps ↗Silicone crafts & gifts
Explore original process examples covering artwork, prototyping, sample tooling and final approval. Select a case to see every checkpoint.
Explore how artwork, sample tooling and approval checks shape a custom product. These examples show development steps, not customer endorsements.
Follow an original silicone character through artwork approval, 3D proofing, prototype tooling, one-cavity molding and final sample sign-off.
View the development steps ↗Original workshop photographs
Alongside the illustrated development example above, these factory photographs show physical structures and equipment you can use as references when preparing a project. Review the dimensions, construction and finish you need with your artwork.

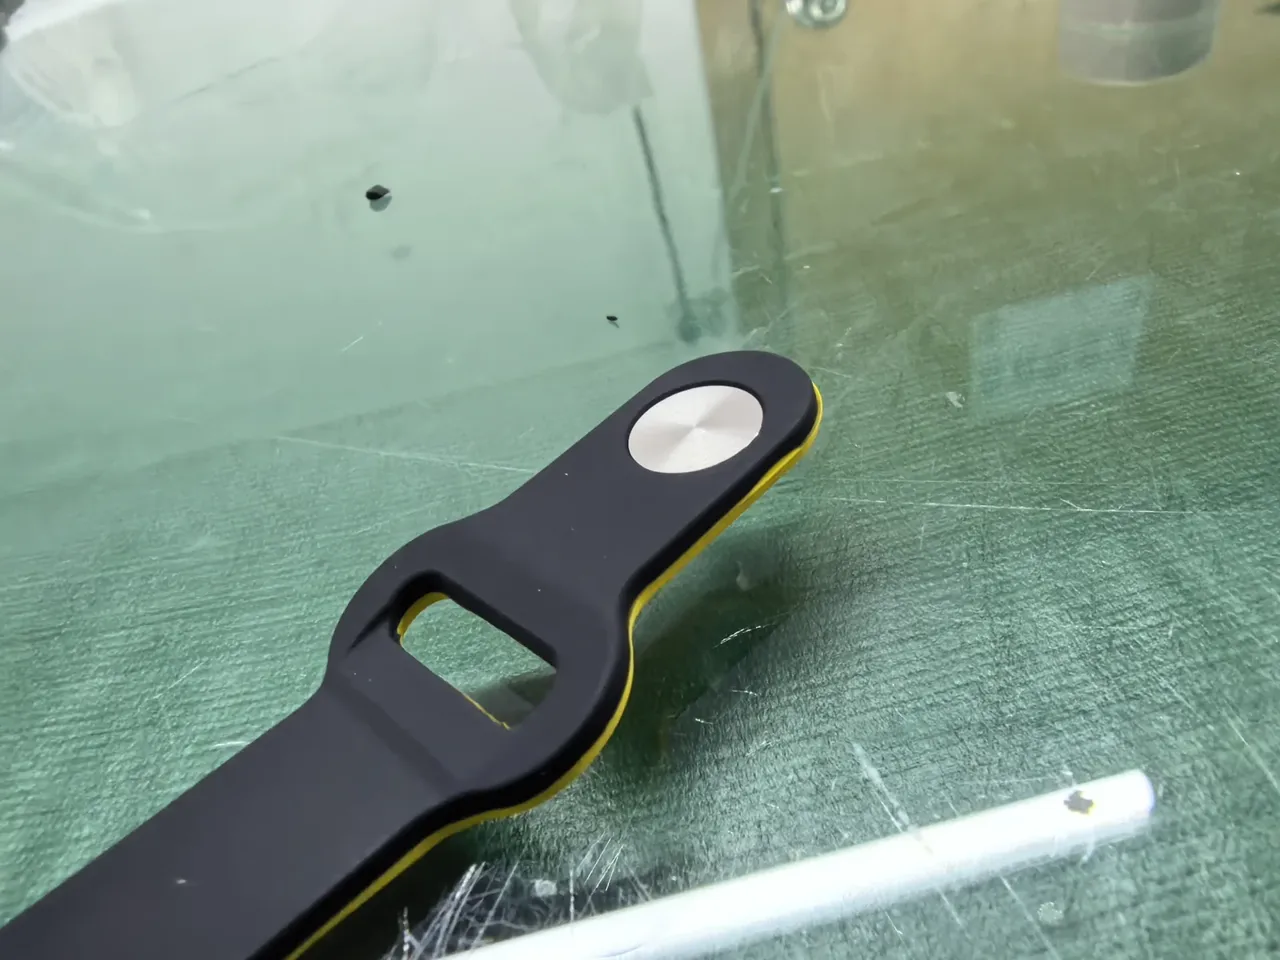
Specify the opening, fastening method and intended fit. Review the assembled shape and any agreed handling checks on a physical sample.
Plan a band closure and fit →
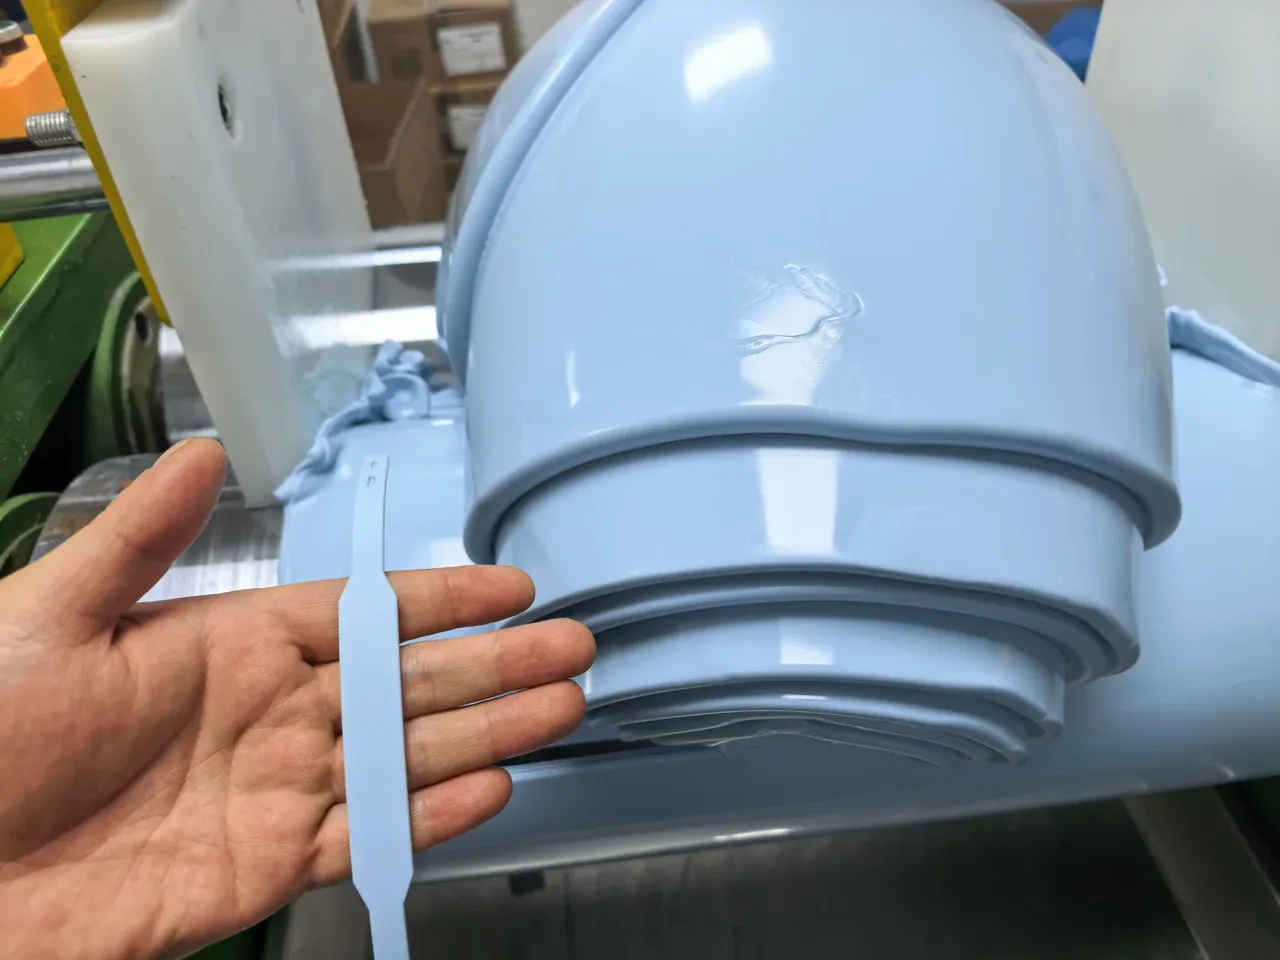
Show the finished length, width, thickness and connection points in your brief. The plain molded strip is a structure reference for this discussion.
Review dimensions and connections →
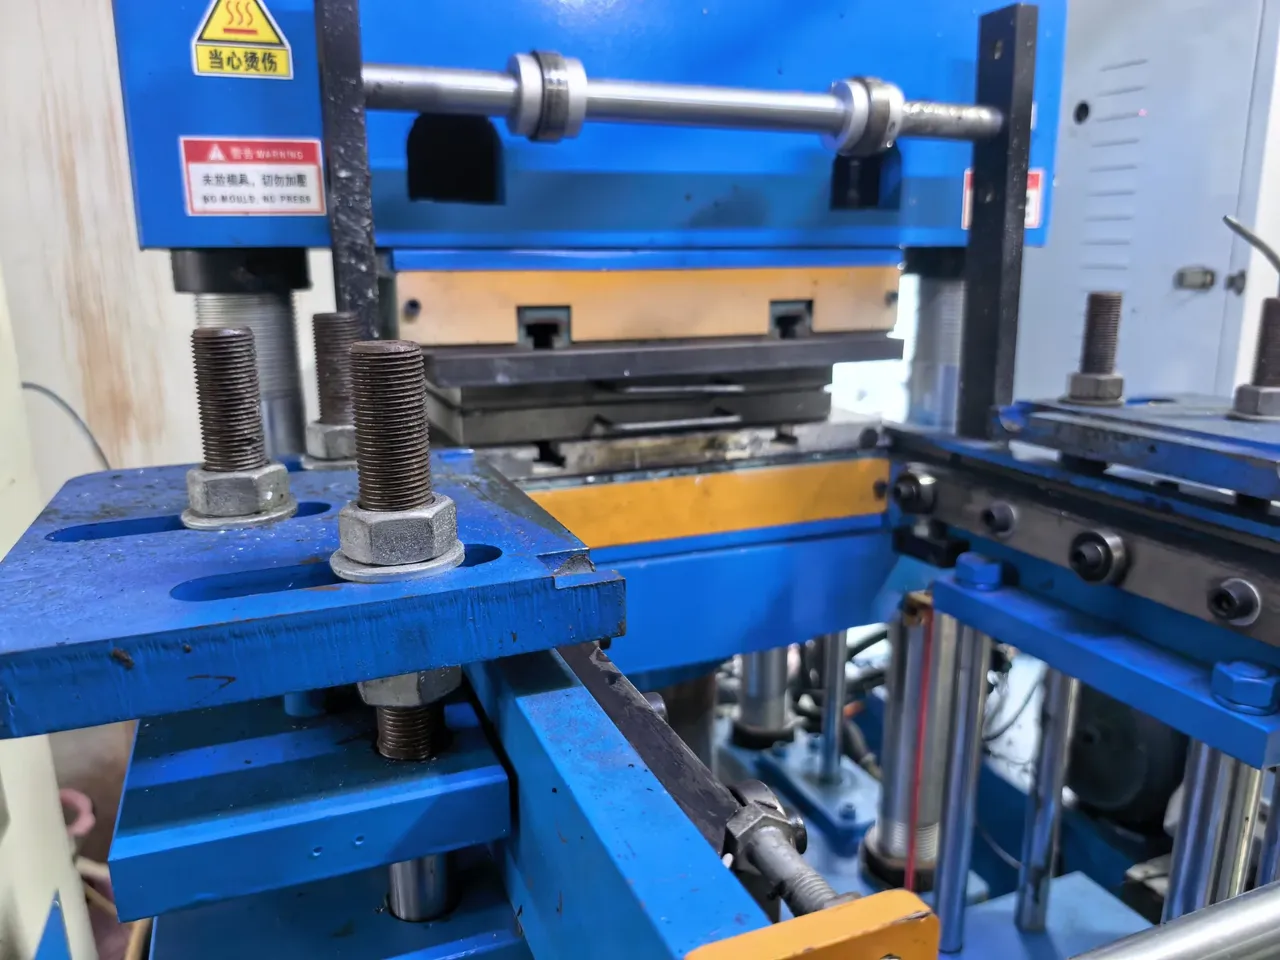
Match the molding route to the material and shape. Confirm the sample appearance, dimensions and finish before agreeing production checks.
Use the sample approval checklist →Workshop and structure references, rather than a customer-order case study. Project-specific materials, tooling, tests and quantities are confirmed separately.