Multi-Color Silicone Molding: Color Matching & Sample Approval
Multi-color silicone molding starts with more than choosing attractive colors. A useful production brief connects the color reference, material, artwork boundaries and approved sample. For custom silicone accessories and decorative products, agreeing on these details before tooling helps prevent avoidable revisions.
This guide explains a practical review sequence, not a customer case study. The appropriate manufacturing route depends on the product geometry and silicone grade; not every product uses the same mixing, dispensing or molding process.
1. Define the finished color, not just a screen image
A phone screenshot is a useful starting point, but it is not a reliable final color standard. Displays, lighting and camera settings change how a shade appears. Send a physical reference or an agreed color code, and specify whether the finished surface should be matte, glossy, opaque or translucent.
Texture and gloss also influence perceived color. A flat reference and a textured silicone part may look different even when they share the same intended shade. X-Rite’s guidance on color standards emphasizes material and appearance characteristics. For purchasing decisions, approve the actual material and finish whenever possible.
2. Match the coloring method to the silicone system
Solid silicone compounds and liquid silicone systems require different preparation methods. A two-roll mill can be used to incorporate suitable color paste into compatible high-consistency silicone. Liquid silicone systems use their own compatible pigments and mixing procedures. Follow the material supplier’s instructions rather than copying a universal recipe.
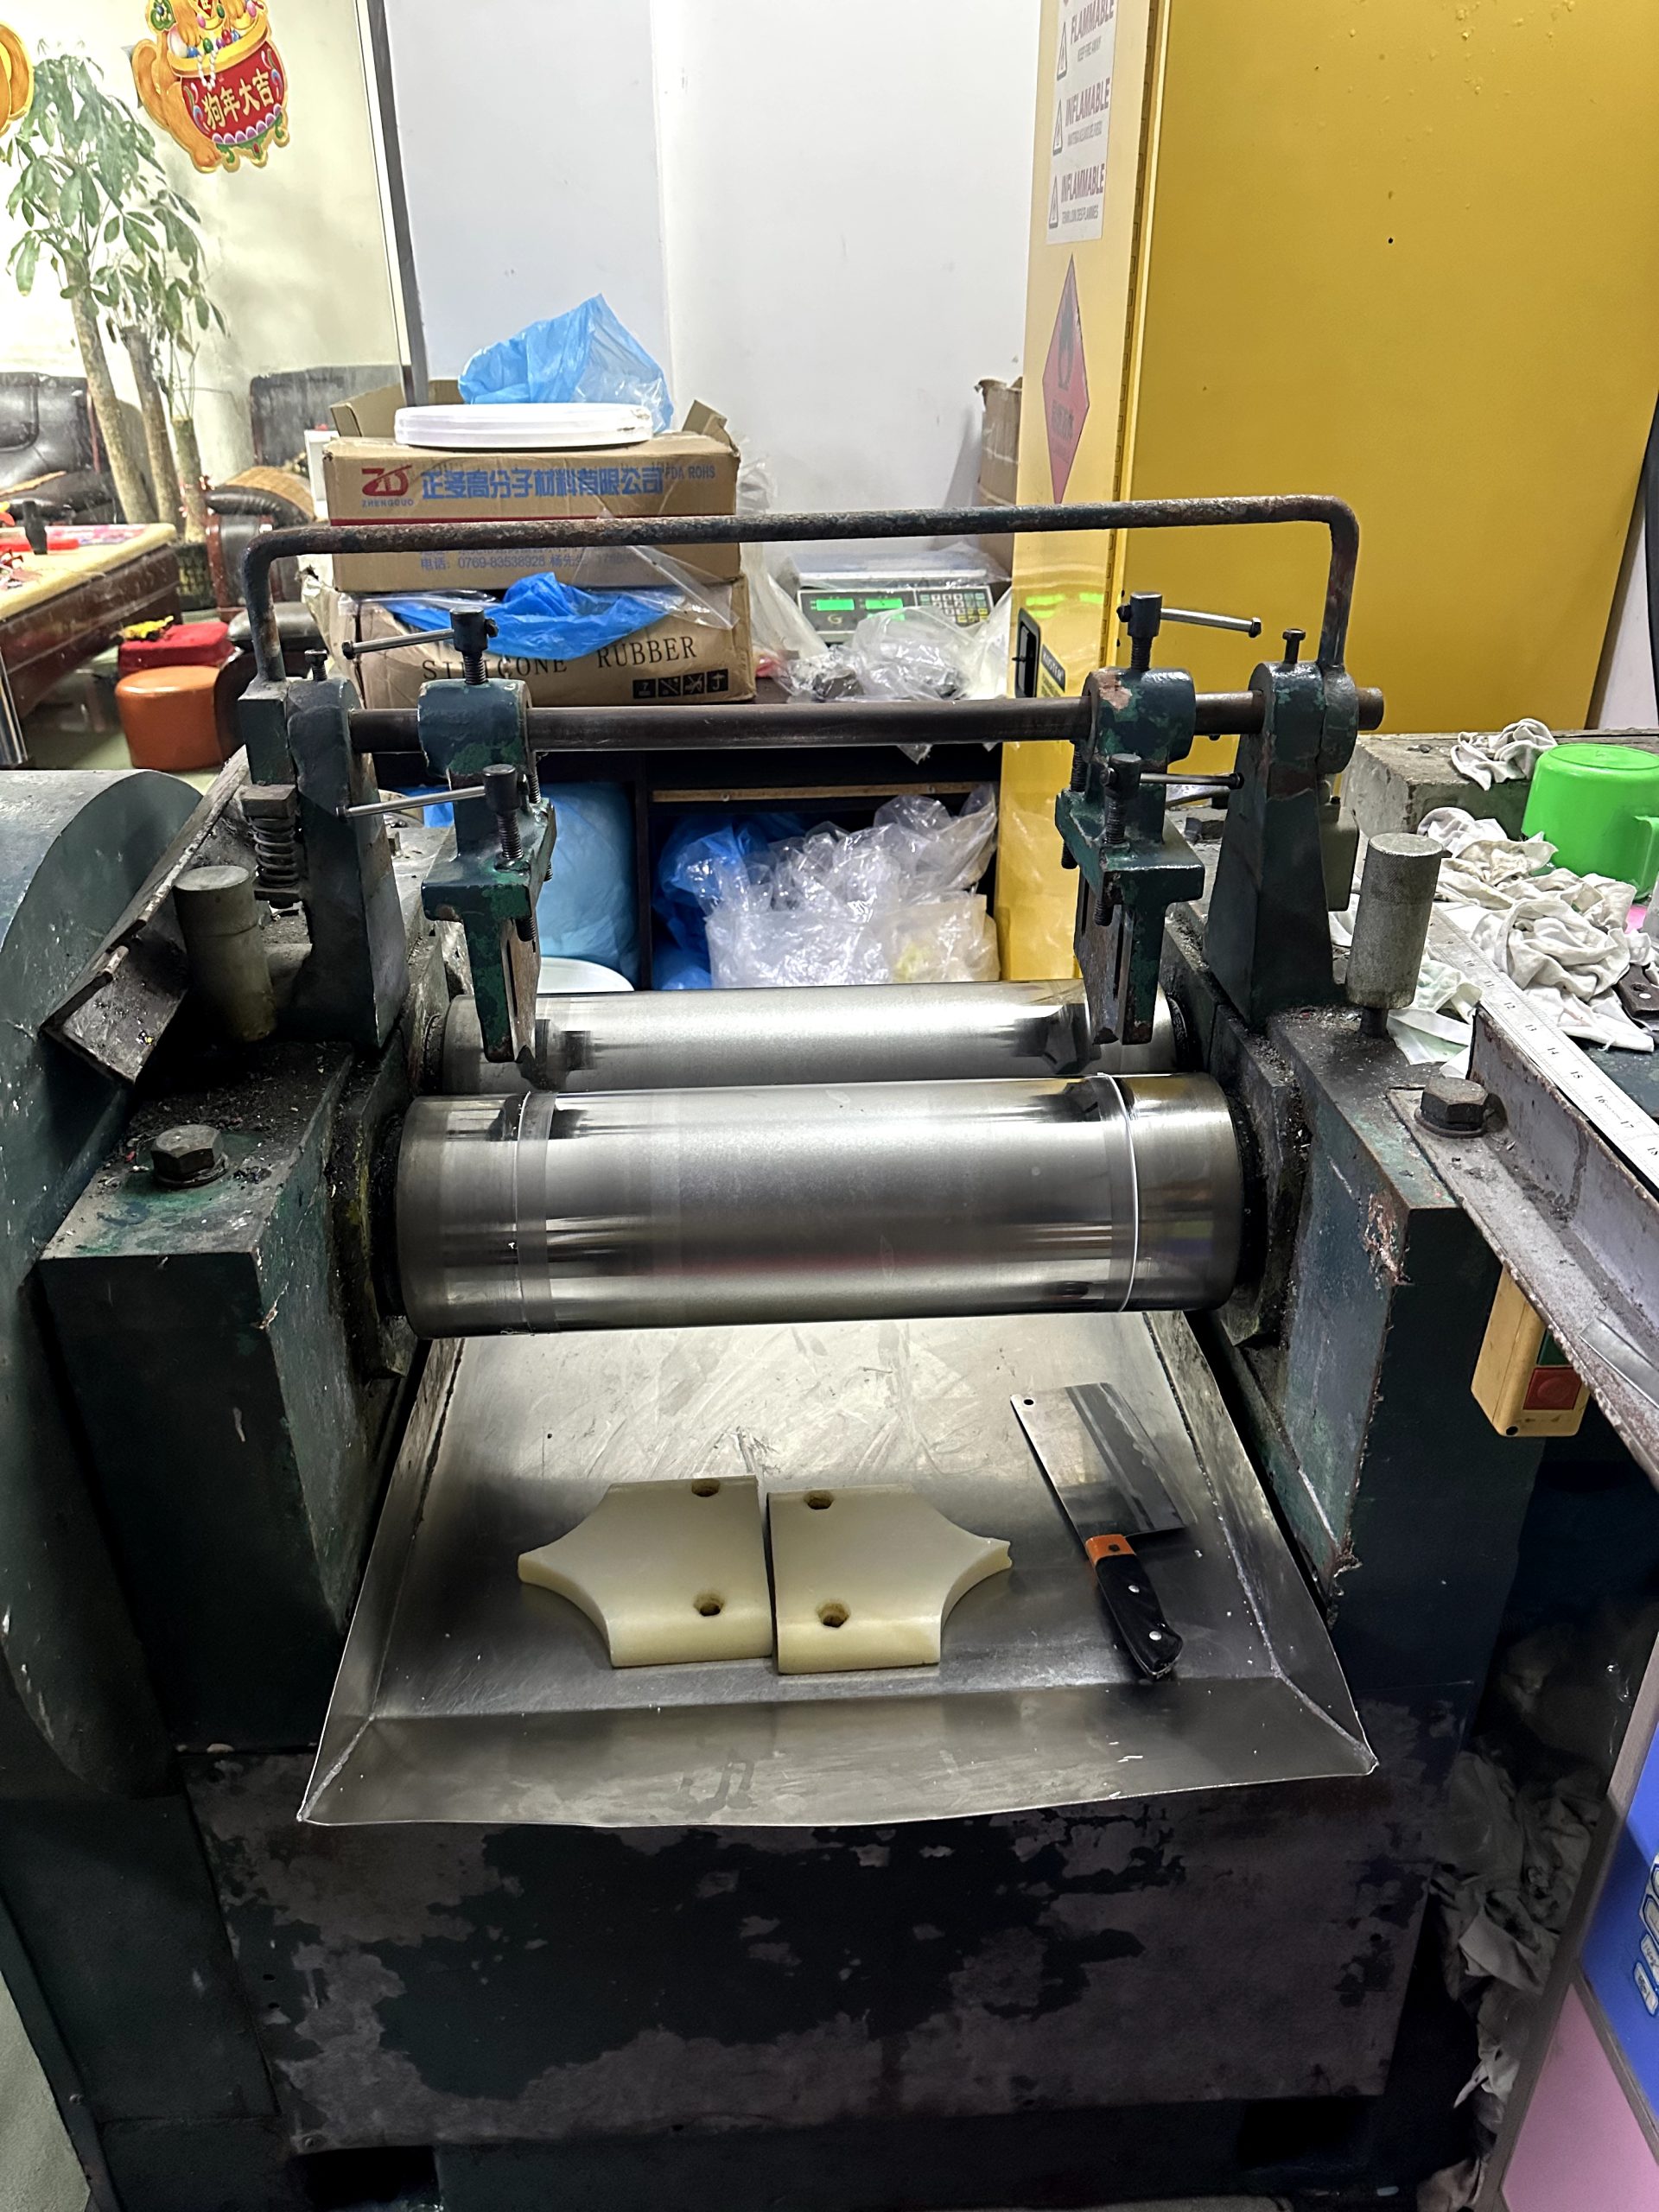
Uniform color distribution is one checkpoint, but visual uniformity alone does not prove that every processing requirement has been met. Material compatibility, mixing conditions and curing instructions still matter. WACKER distinguishes color pastes for different silicone systems in its silicone rubber processing guidance.
3. Review color separation before making the mold
In a multi-color design, a boundary that looks crisp on a large drawing can become difficult to reproduce on a small part. Submit artwork at the intended finished size. Identify each color area, thin line, small letter and raised or recessed feature.
- Label the color areas consistently in the artwork and specification.
- Ask which boundaries need physical separation in the mold.
- Review narrow gaps and tiny details with the manufacturer.
- Confirm whether a detail will be molded, printed or produced by another method.
Do not assume that reducing the number of colors automatically solves a difficult design. Detail size, placement, tooling and assembly can also affect production complexity. See our custom silicone and PVC keychain design guide for related artwork questions.
4. Understand where dispensing fits—and where it does not
For suitable products and materials, controlled dispensing can place material in selected mold areas. Other parts may use compression molding or liquid silicone injection molding. These are not interchangeable descriptions, and equipment photos alone do not establish which process is appropriate for your design.
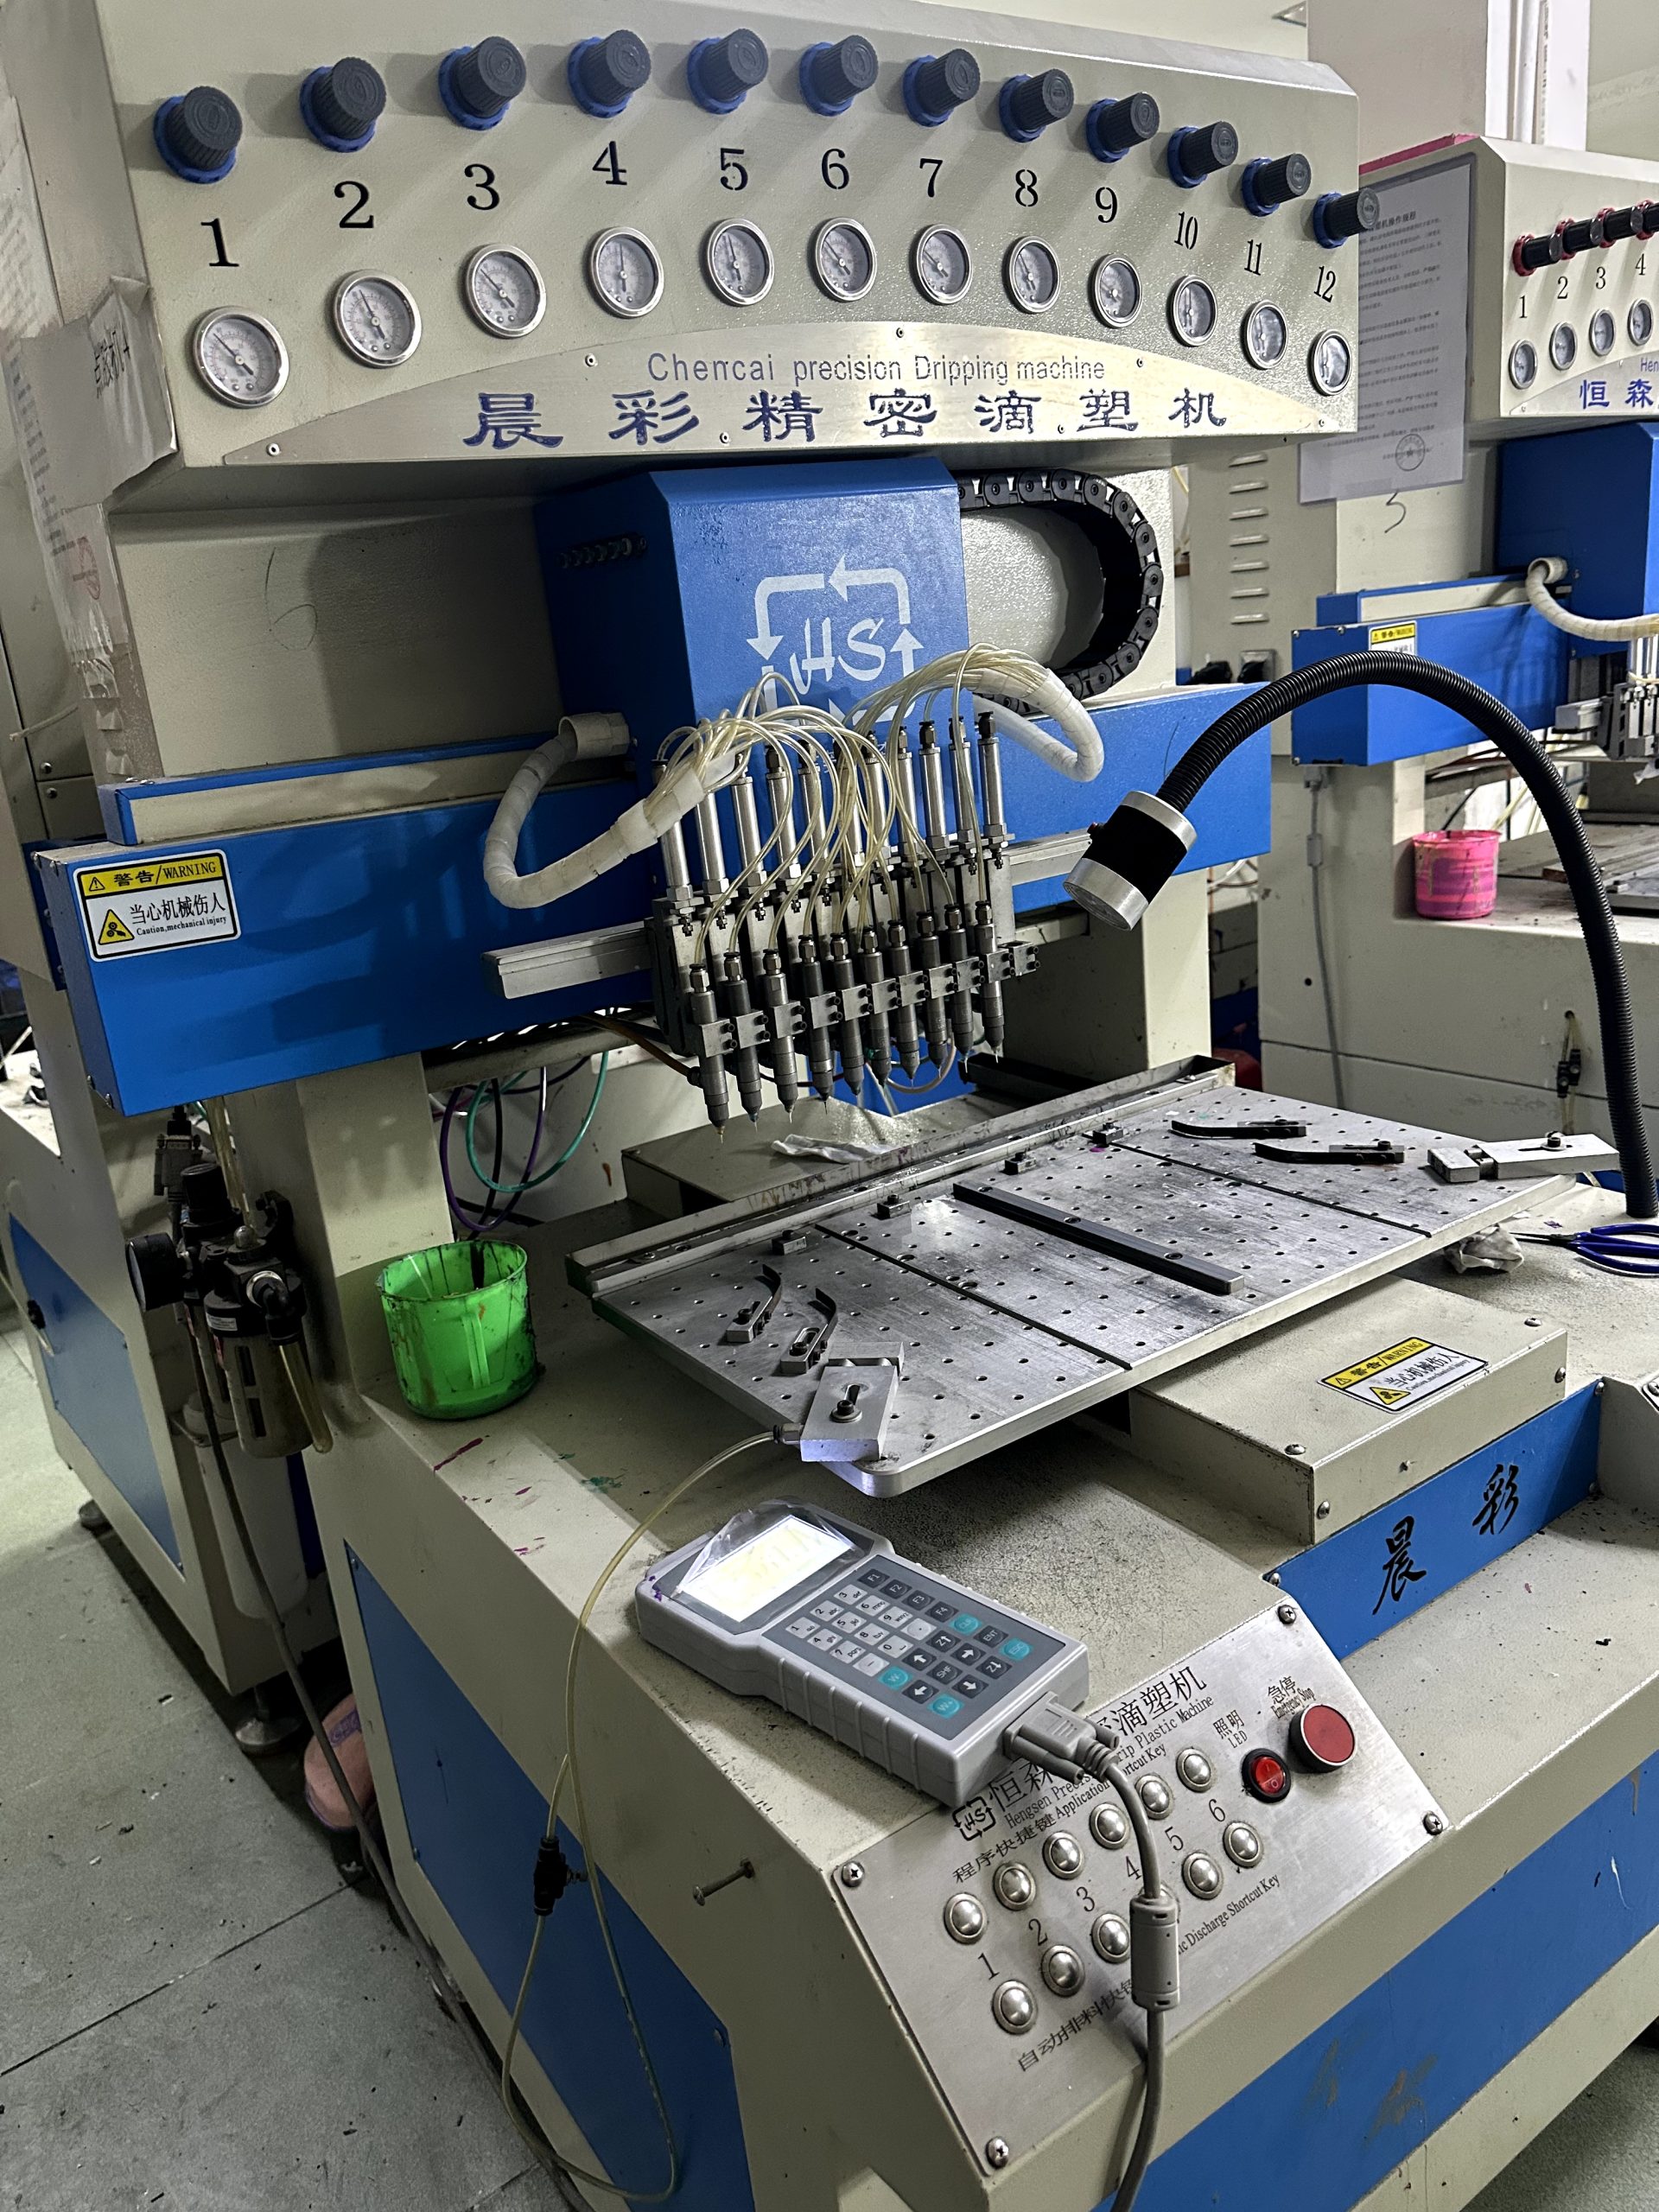
Ask the supplier to explain the proposed sequence and its limitations. In particular, a silicone product is different from a silicone mold used to cast another material. Keep that distinction clear when requesting a quote. Our silicone manufacturing process overview provides additional context.
5. Approve a cured sample under agreed conditions
Review the finished sample rather than approving only uncured material or a production photo. Check the shade, surface appearance, color boundaries, readable details and relevant dimensions. Use agreed lighting and a consistent background; photos can support discussion but should not silently replace an agreed physical standard.
Record the approved sample version and the points that still require changes. If instrumental color measurement is needed, agree on the measurement method and acceptance criteria before production. There is no single tolerance that suits every decorative silicone product.
A practical color-matching quotation checklist
- Finished dimensions and intended use.
- Artwork with labeled color areas and a reference for each shade.
- Material preference, opacity and surface finish.
- Quantity, packaging and any assembly requirements.
- Sample approval method and the required delivery date for evaluation.
Share only artwork and photos you are entitled to use. Original geometric designs and neutral process demonstrations can communicate manufacturing knowledge without relying on recognizable third-party characters.
Frequently asked questions
Can a color code guarantee an identical silicone result?
No. A code communicates the intended shade, but material, finish and viewing conditions affect the result. Confirm expectations with a finished sample.
Is liquid silicone injection molding required for every multi-color part?
No. The suitable route depends on the design, material and production requirements. Ask for a process recommendation rather than selecting a method from a keyword alone.
What should I send first?
Send the drawing, finished size, color references and expected quantity. Use our quotation checklist, or discuss your custom silicone project.