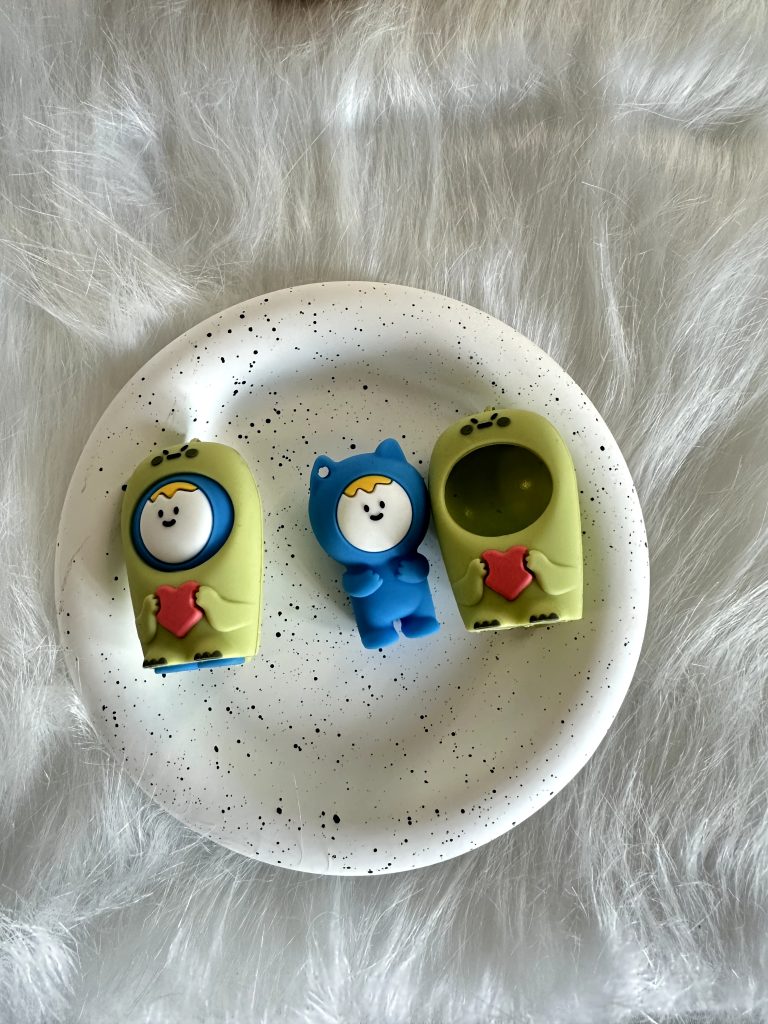
Custom silicone products require more than a good design. Consistent color, clean details, stable dimensions, and a smooth finish all depend on how the material is prepared and processed.
This guide explains material preparation, color placement, molding and inspection using workshop reference photos. It is not a fixed route for every silicone product: solid compound preparation and liquid or separately dispensed color operations use different material systems. The artwork, construction and approved sample determine which steps are needed.
1. Preparing Silicone Rubber and Color Masterbatch
Every project begins with the right material formula. Silicone rubber is combined with the required color masterbatch according to the approved color standard. The material is processed on a two-roll mixing mill to distribute the color evenly and prepare a uniform silicone compound for the next production stage.
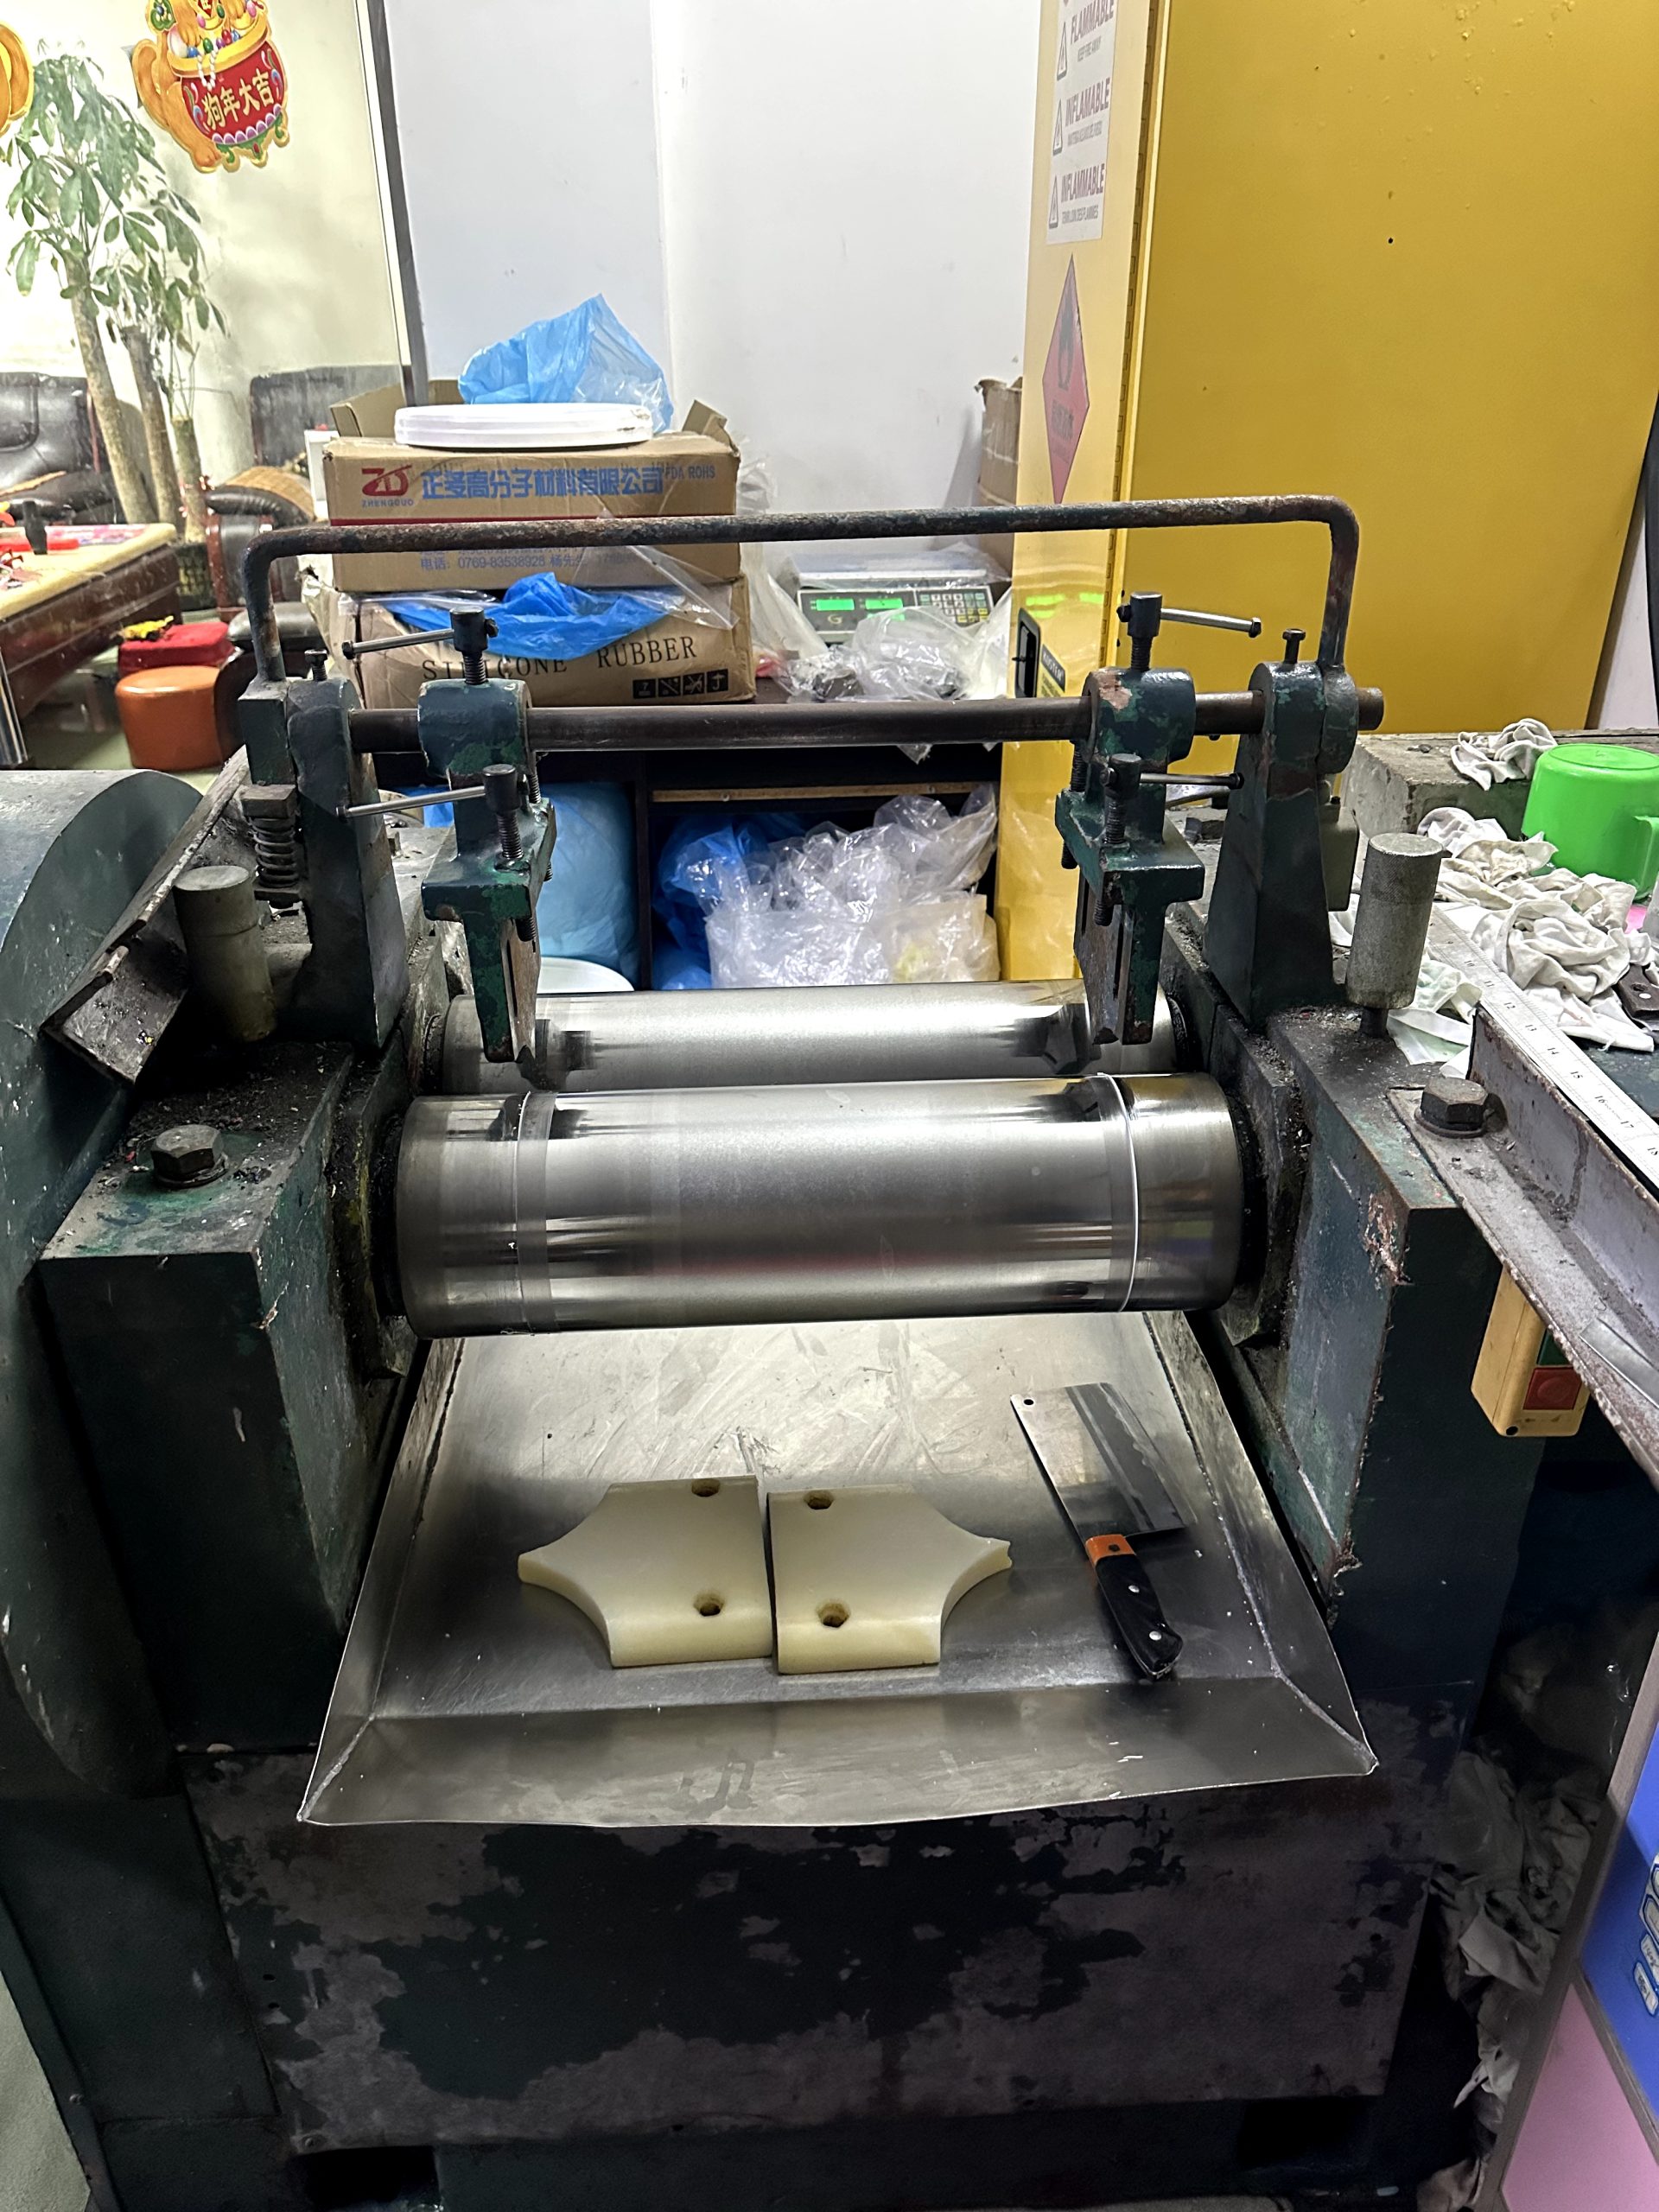
Mixing is used to distribute the colorant through the selected compound. Review the cured color, surface and any visible defects on a sample; the photograph alone does not verify color consistency or the absence of trapped air.
2. Color Placement and Silicone Dispensing
For designs that use a compatible dispensable silicone system, a dispensing machine places material into designated tool areas. This is a different operation from preparing a solid silicone compound on a mixing mill. The material system, color boundaries, tool layout and curing sequence must be confirmed for the actual product.
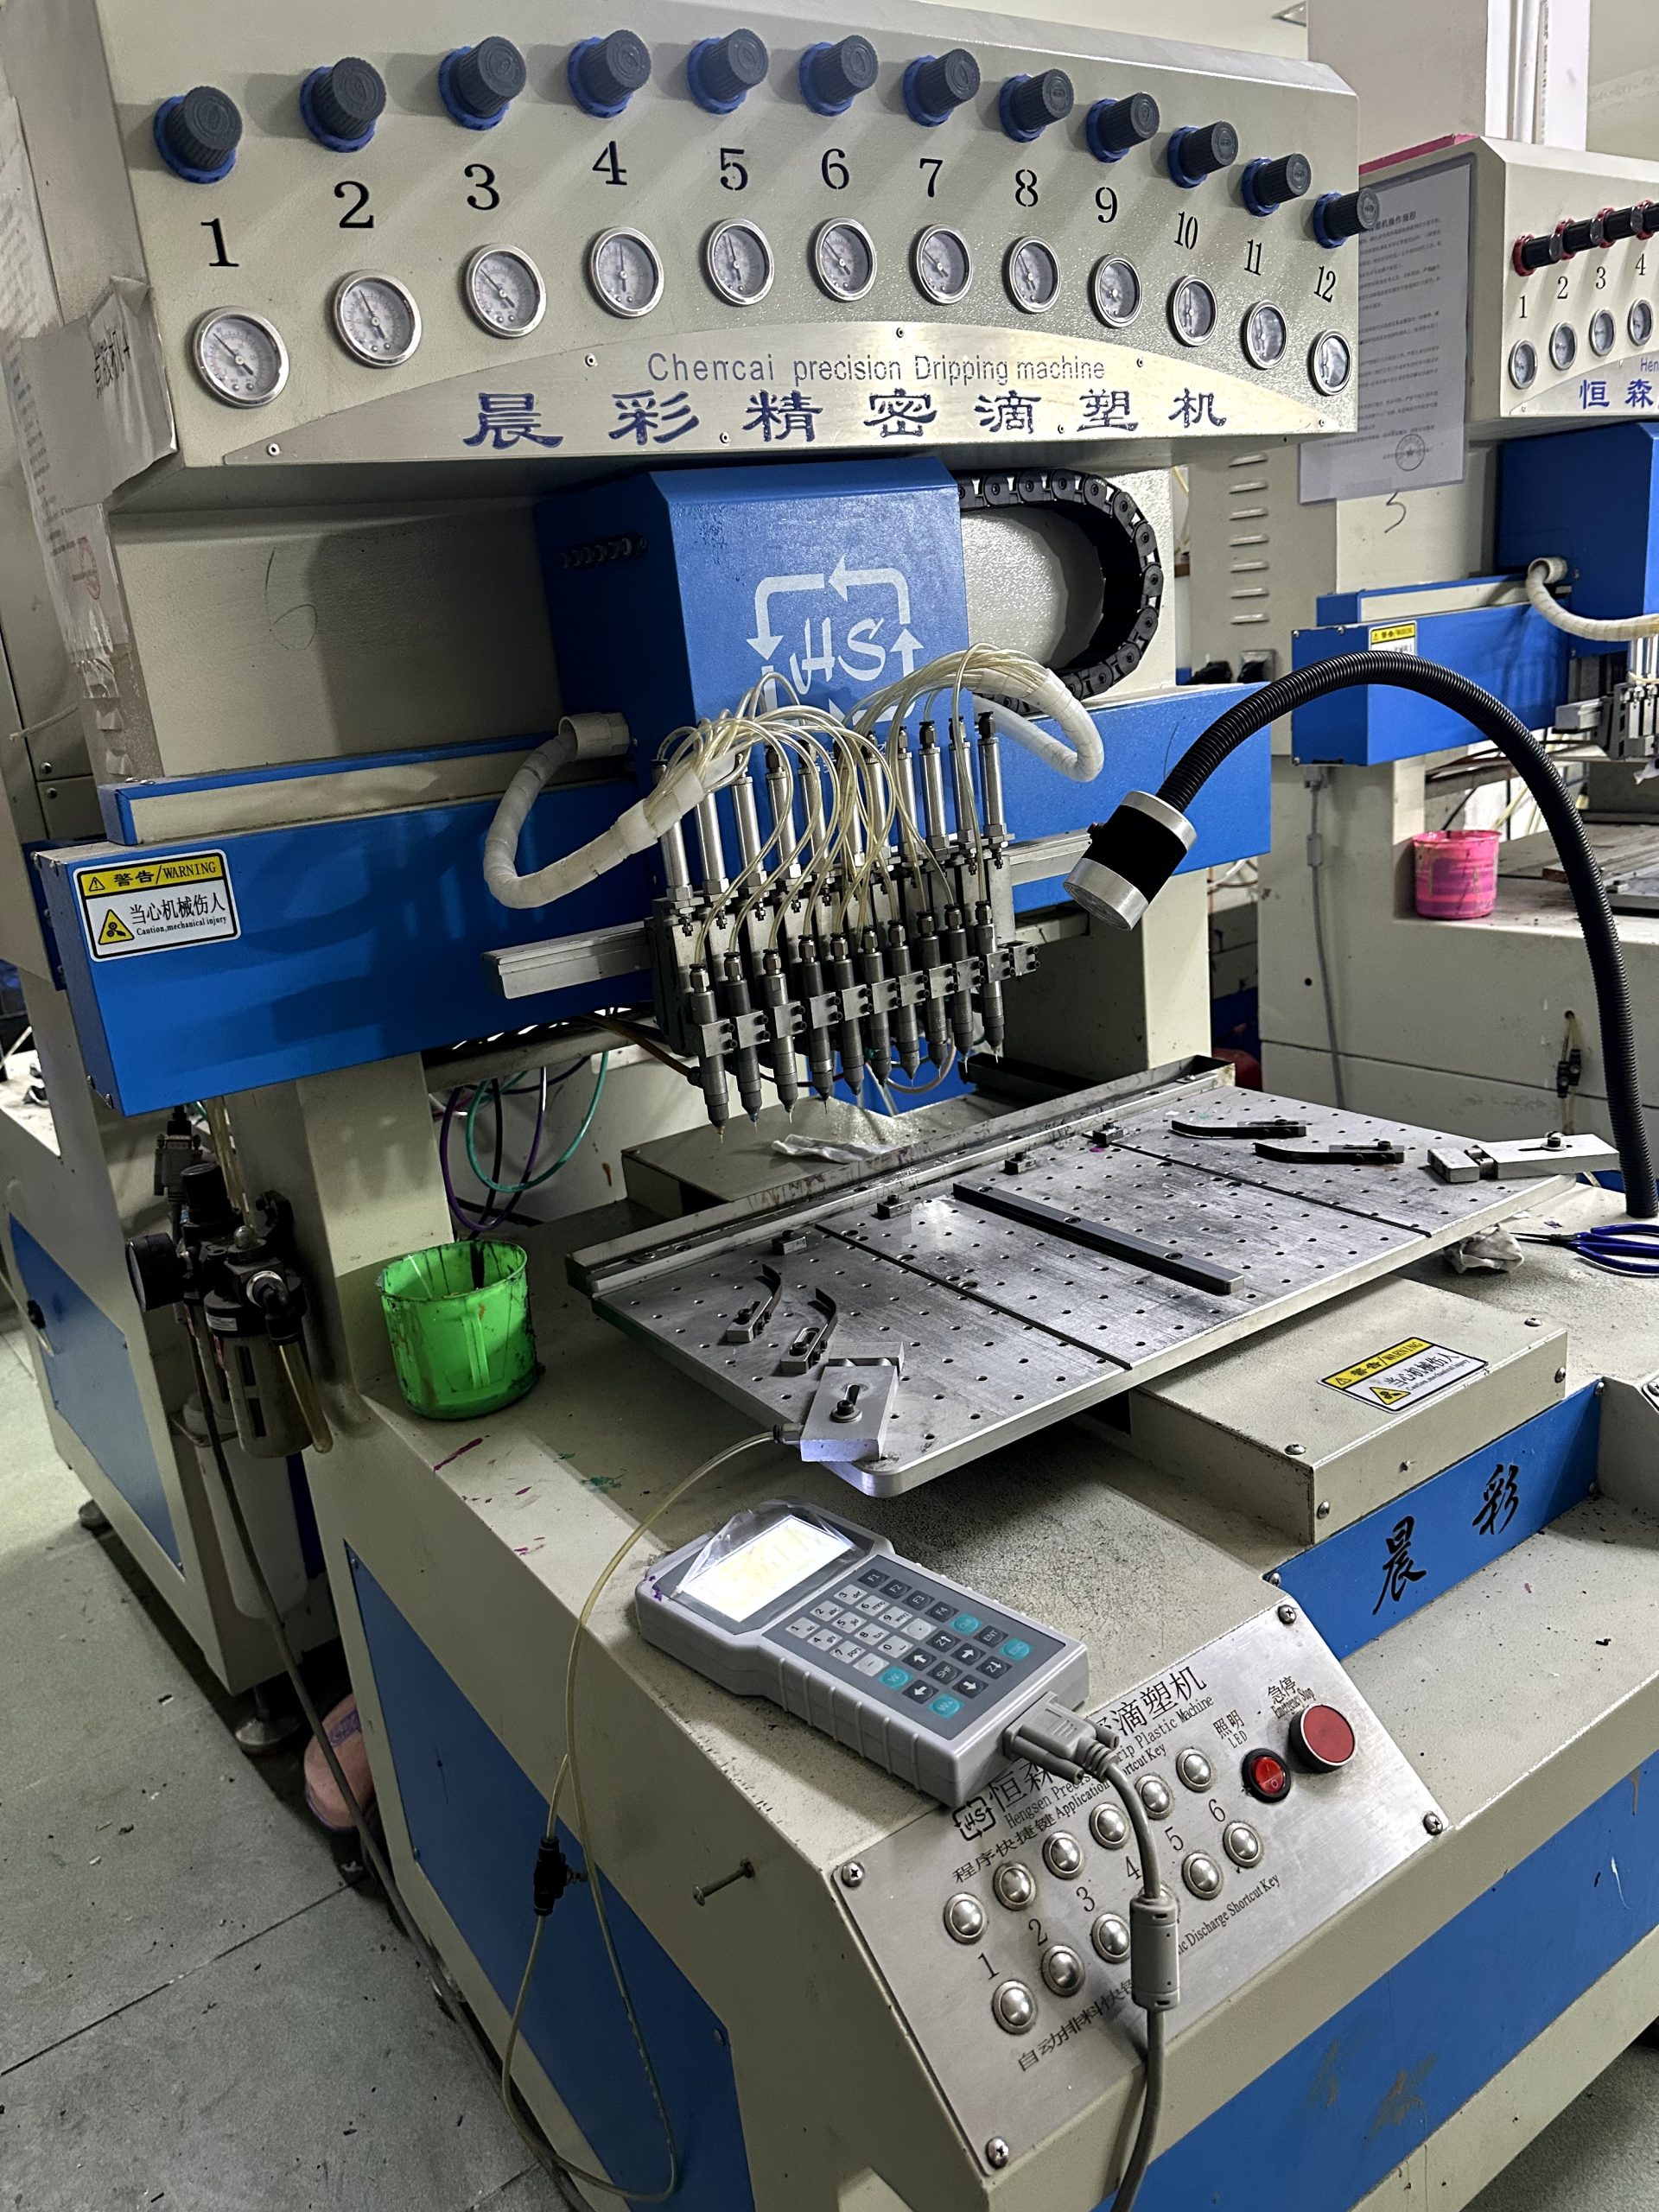
Before approving production, inspect the color boundaries, fill level, small features and cured surface on the sample. Agree any further production checks required for the intended use.
3. Filling the Custom Mold
For a solid-silicone molding route, prepared material is placed into the mold cavities to suit the part geometry and tooling. A design using separately dispensed color may need a different sequence or an additional operation. Confirm the route rather than combining all reference images into one assumed order.
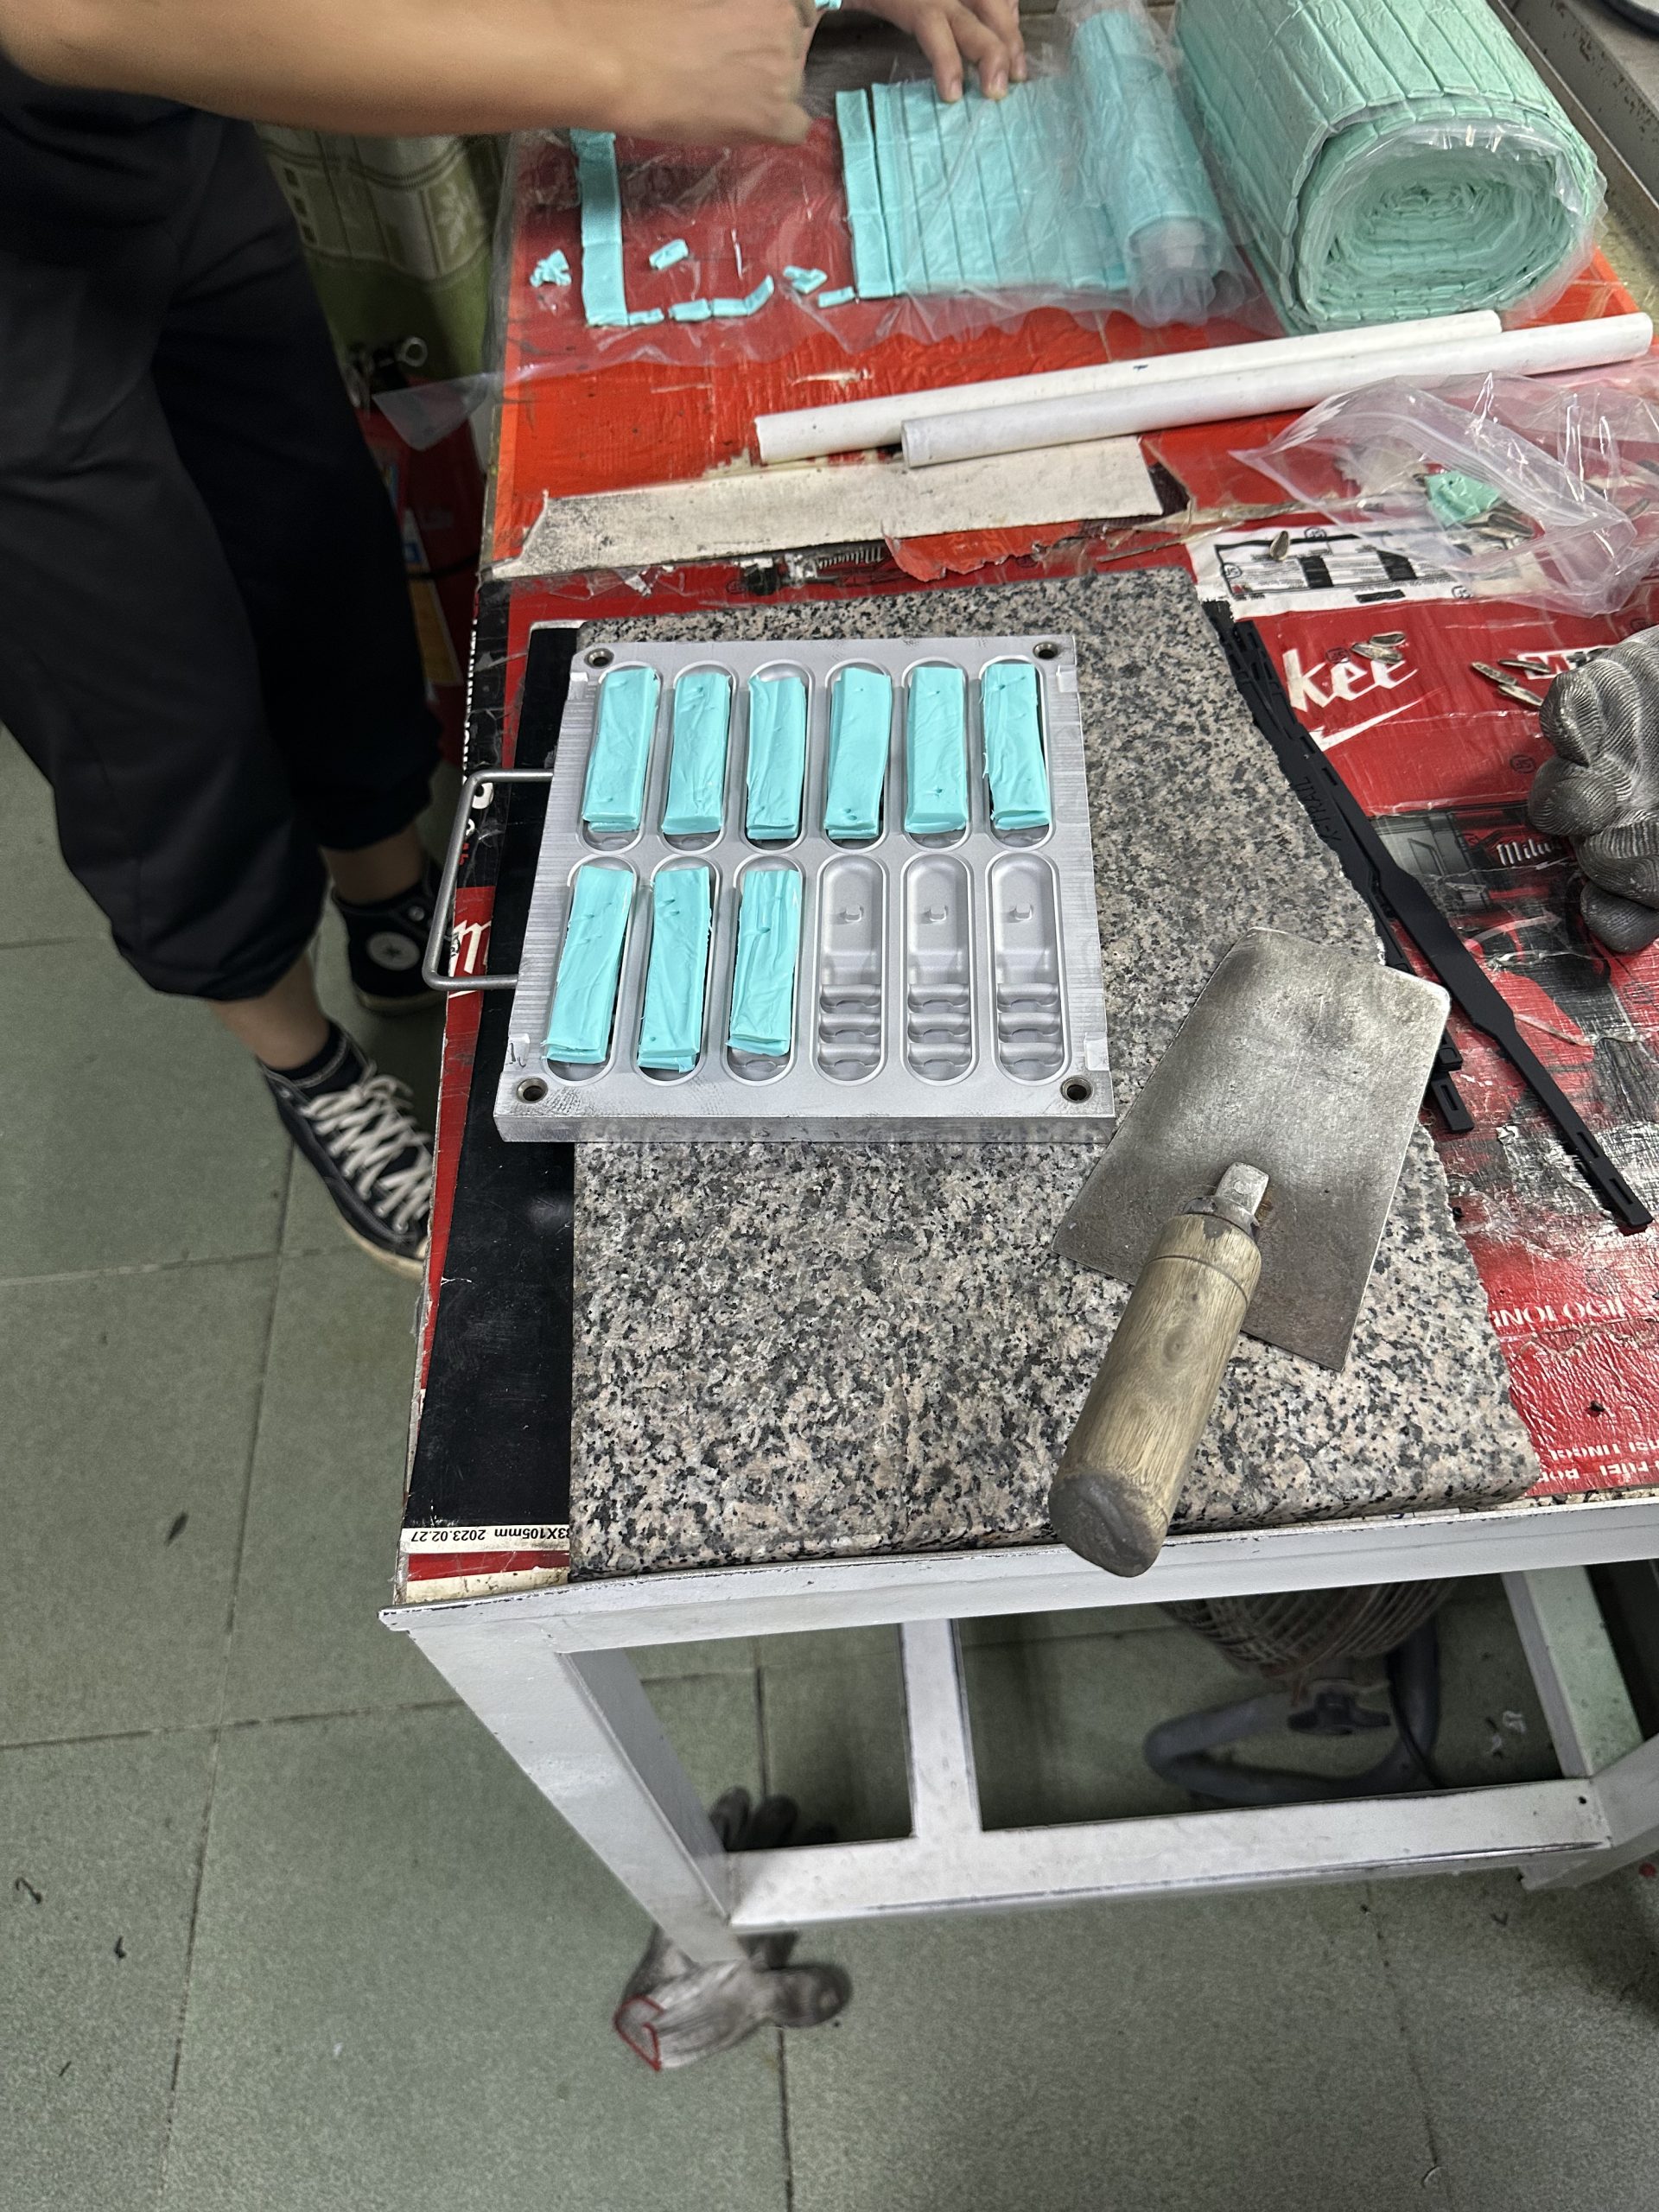
Before curing, the mold is checked to confirm that cavities are properly filled and important details are formed cleanly.
4. Curing, Demolding, and Final Inspection
Once the mold is filled, the silicone is cured under controlled conditions. Each piece is then demolded, trimmed where necessary, and inspected for color consistency, surface cleanliness, molding accuracy, and overall appearance.
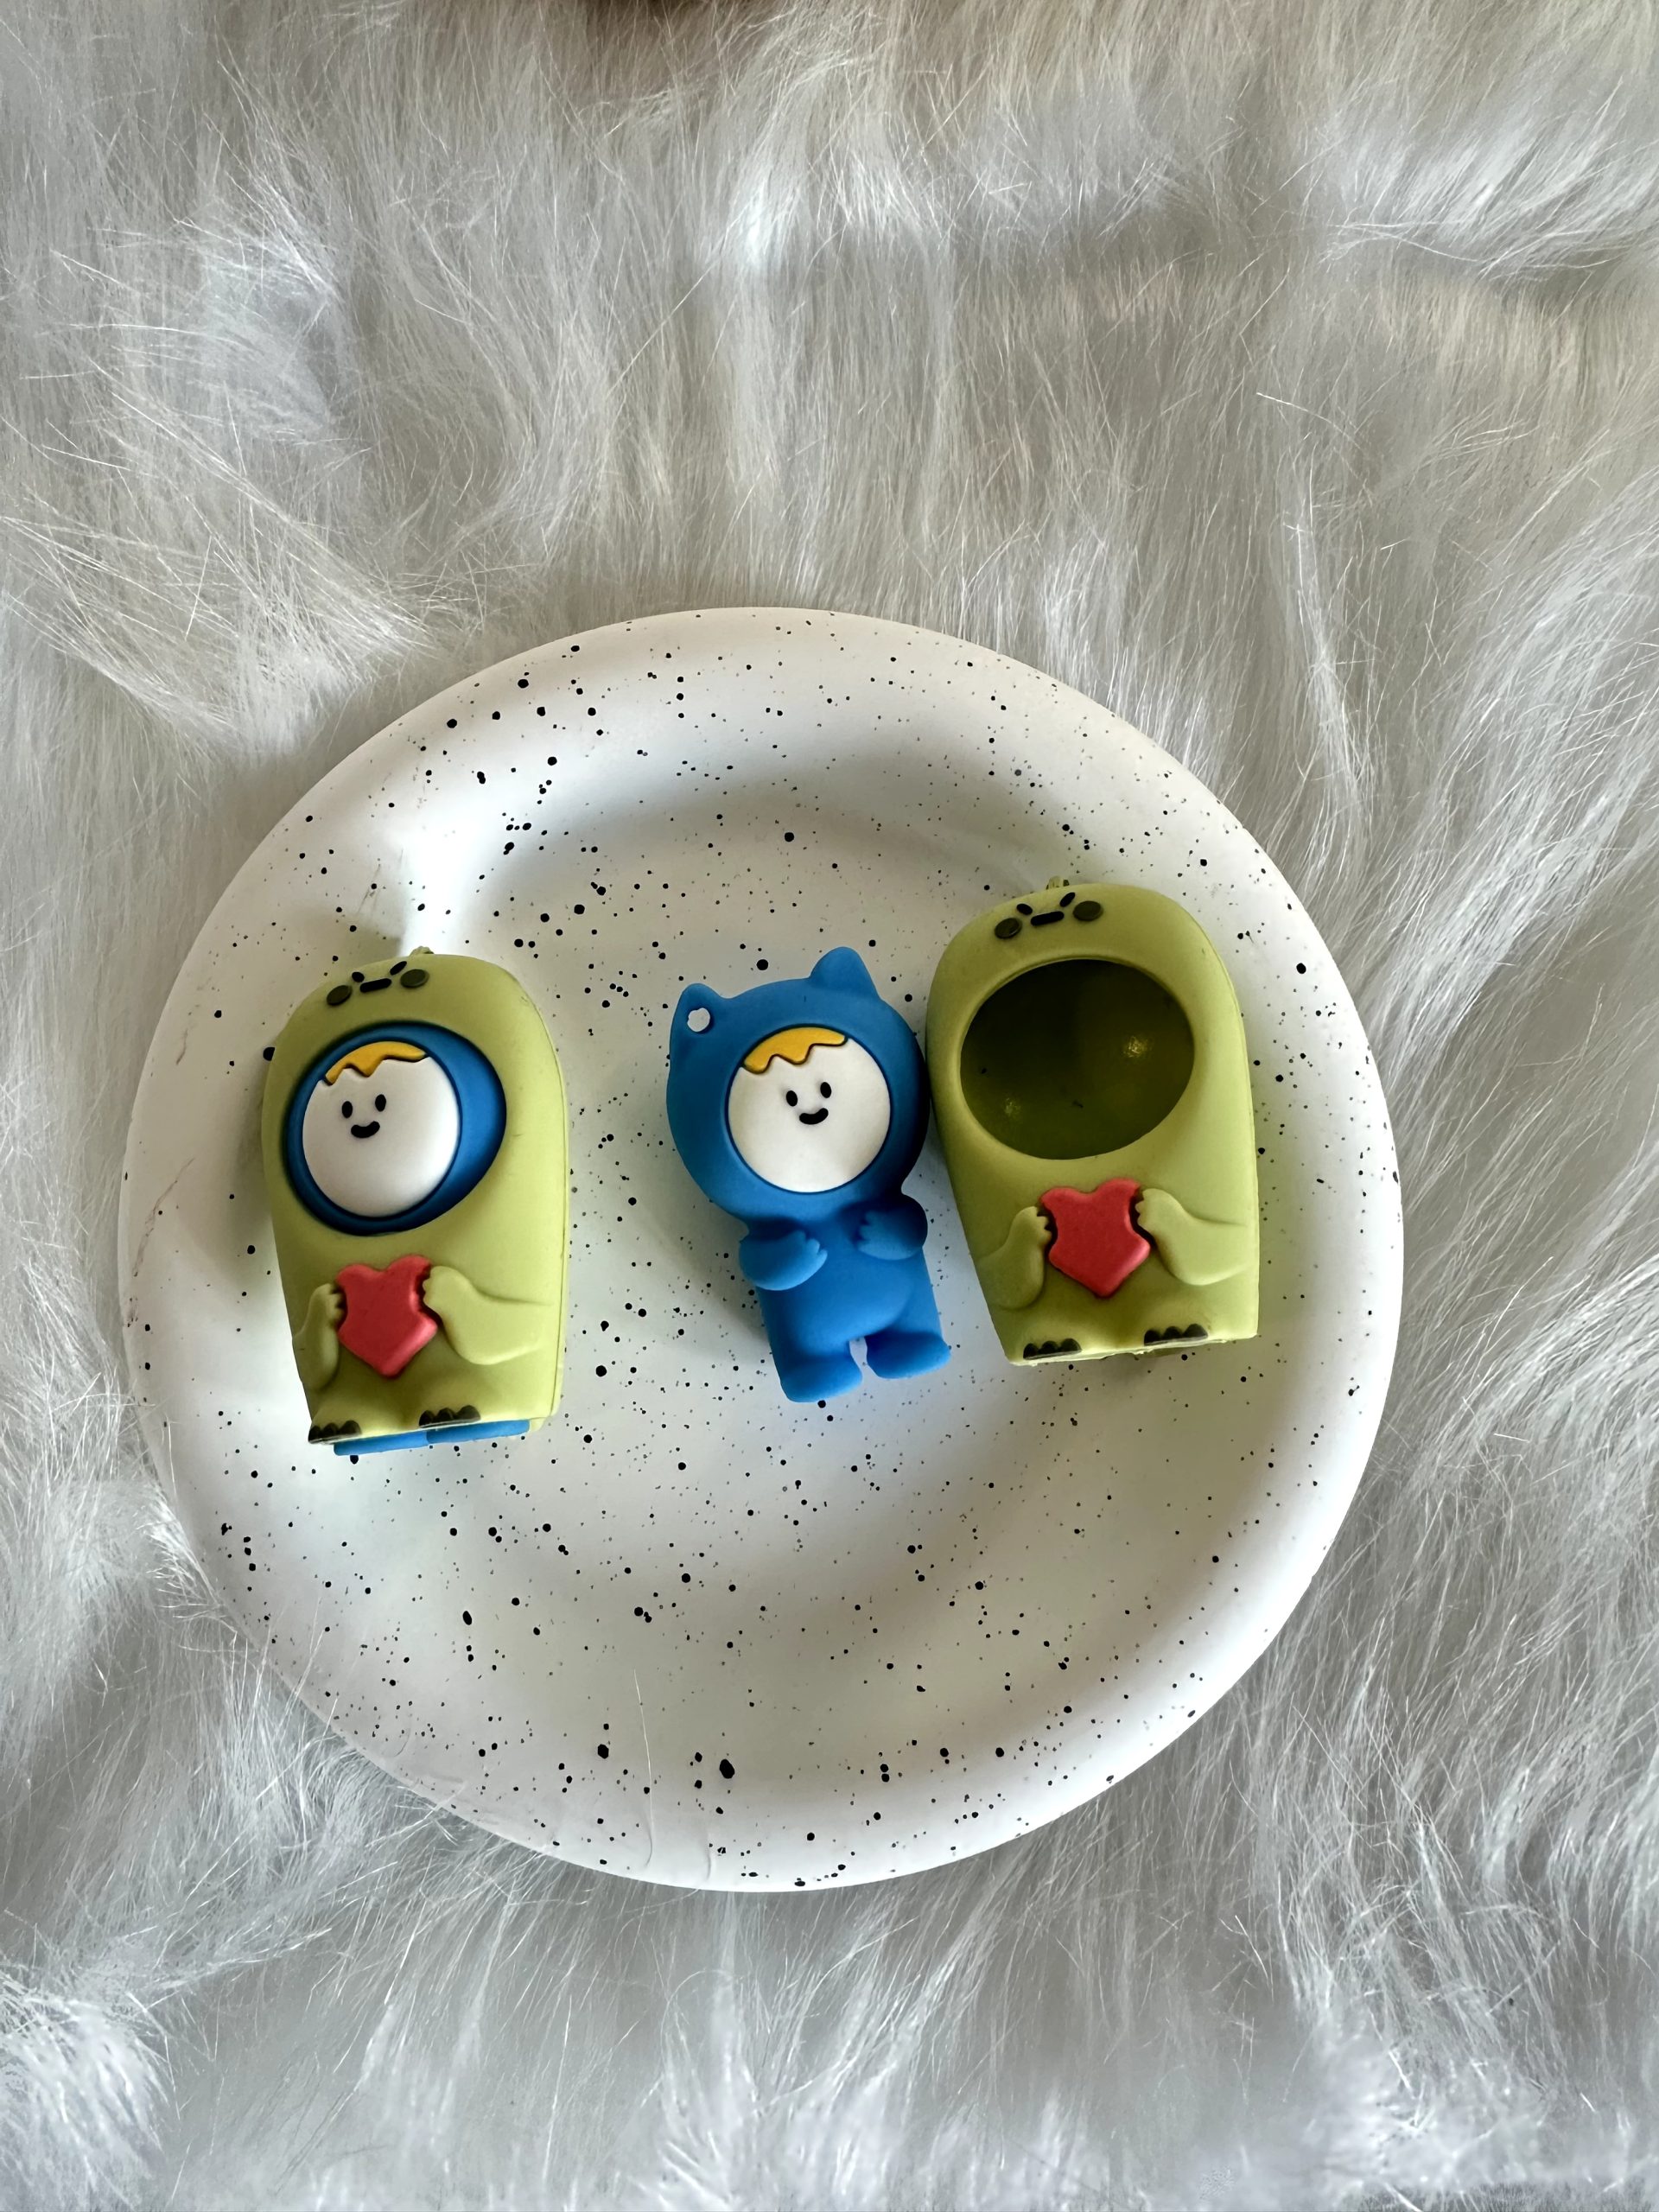
Finished custom silicone products can move on to assembly, packaging, or additional customization based on the project requirements.
Start Your Custom Silicone Project
To review a custom silicone project, share your artwork, reference images, target quantity, intended use, material preference, colors and packaging requirements. We can then confirm the appropriate tooling, sample scope and production route. Request a custom quote, or explore our silicone sample-development example.
Planning a custom project? Explore our custom silicone manufacturing services.
To watch the workshop stages and see what to review at each point, read how a silicone design moves from tooling to a physical sample. The footage is a process reference; the sequence for your product is confirmed separately.