How does a custom silicone design move from artwork to a physical sample? The answer is visible in the production steps: the mold establishes the shape, color preparation supports the intended appearance, forming creates the part, and the finished piece is checked against the approved design.
The video accompanying this guide brings together workshop footage of mold machining, mold-detail review, color mixing, multi-color dispensing, heat-press work and a finished part. These are process references, not a complete record of one customer order. We explain the review points at each stage; the material and sequence for a project are confirmed from its artwork and sample.
1. Review the design before making the mold
A reference image shows the idea, but a production brief needs more detail. We review the intended size, shape, surface features and color areas. For a character-shaped product, small features may need adjustment so they remain visible at the finished size. For a logo part, letter thickness and the boundary between colors matter.
At this stage, buyers can provide an original drawing, a 3D file or reference images, along with the expected quantity and how the part will be used. The design shown at the beginning of the video is a visual reference; the workshop footage shows the manufacturing stages that follow.
2. Machine the mold and inspect its details
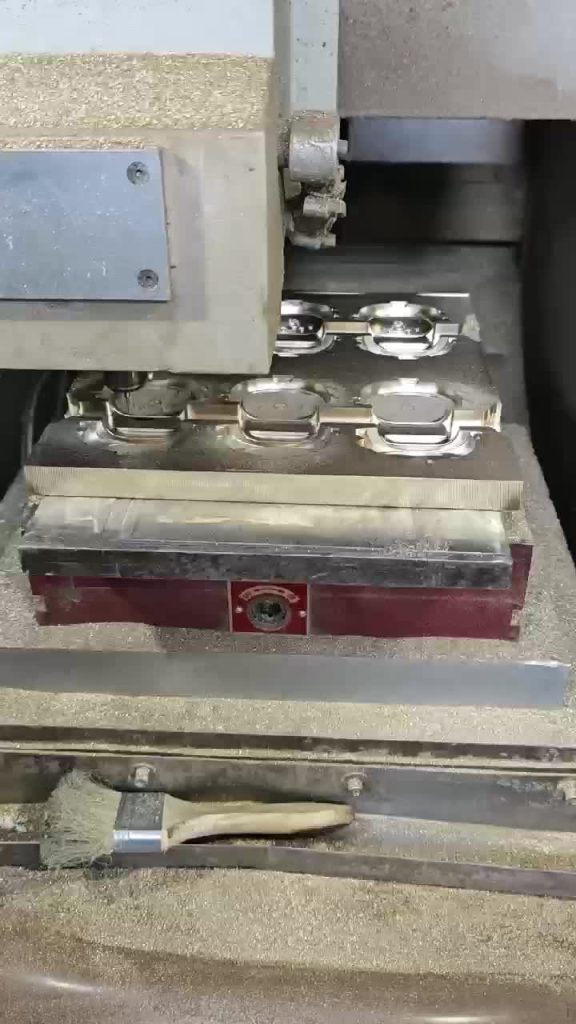
The video shows a machining tool cutting a mold, followed by a worker opening and reviewing metal tooling. The mold transfers the intended shape to each part, so its cavities, edges and fine details deserve close attention.
This footage documents a mold-detail check. A physical product sample is still needed to confirm the final appearance, dimensions and feel before bulk production.
Mold review point: check the tooling details, then confirm the physical sample. A mold photograph alone does not establish the final dimensions, appearance or feel.
3. Prepare the colors and place them where the design needs them
Color mixing and a multi-nozzle dispensing machine appear in the next part of the video. The aim is to reproduce the selected colors and place them within the designed areas of the tool. A buyer should check whether small colored sections have clear boundaries and whether the overall appearance matches the approved sample.
The exact material and order of color application depend on the product design. For example, one molded silicone logo may use a compression-molded base followed by a separately dispensed and heat-cured colored silicone detail. Other designs require a different sequence. We confirm the route with the actual artwork and sample rather than treating one video sequence as a fixed method for every item.
4. Form the silicone part under heat and pressure
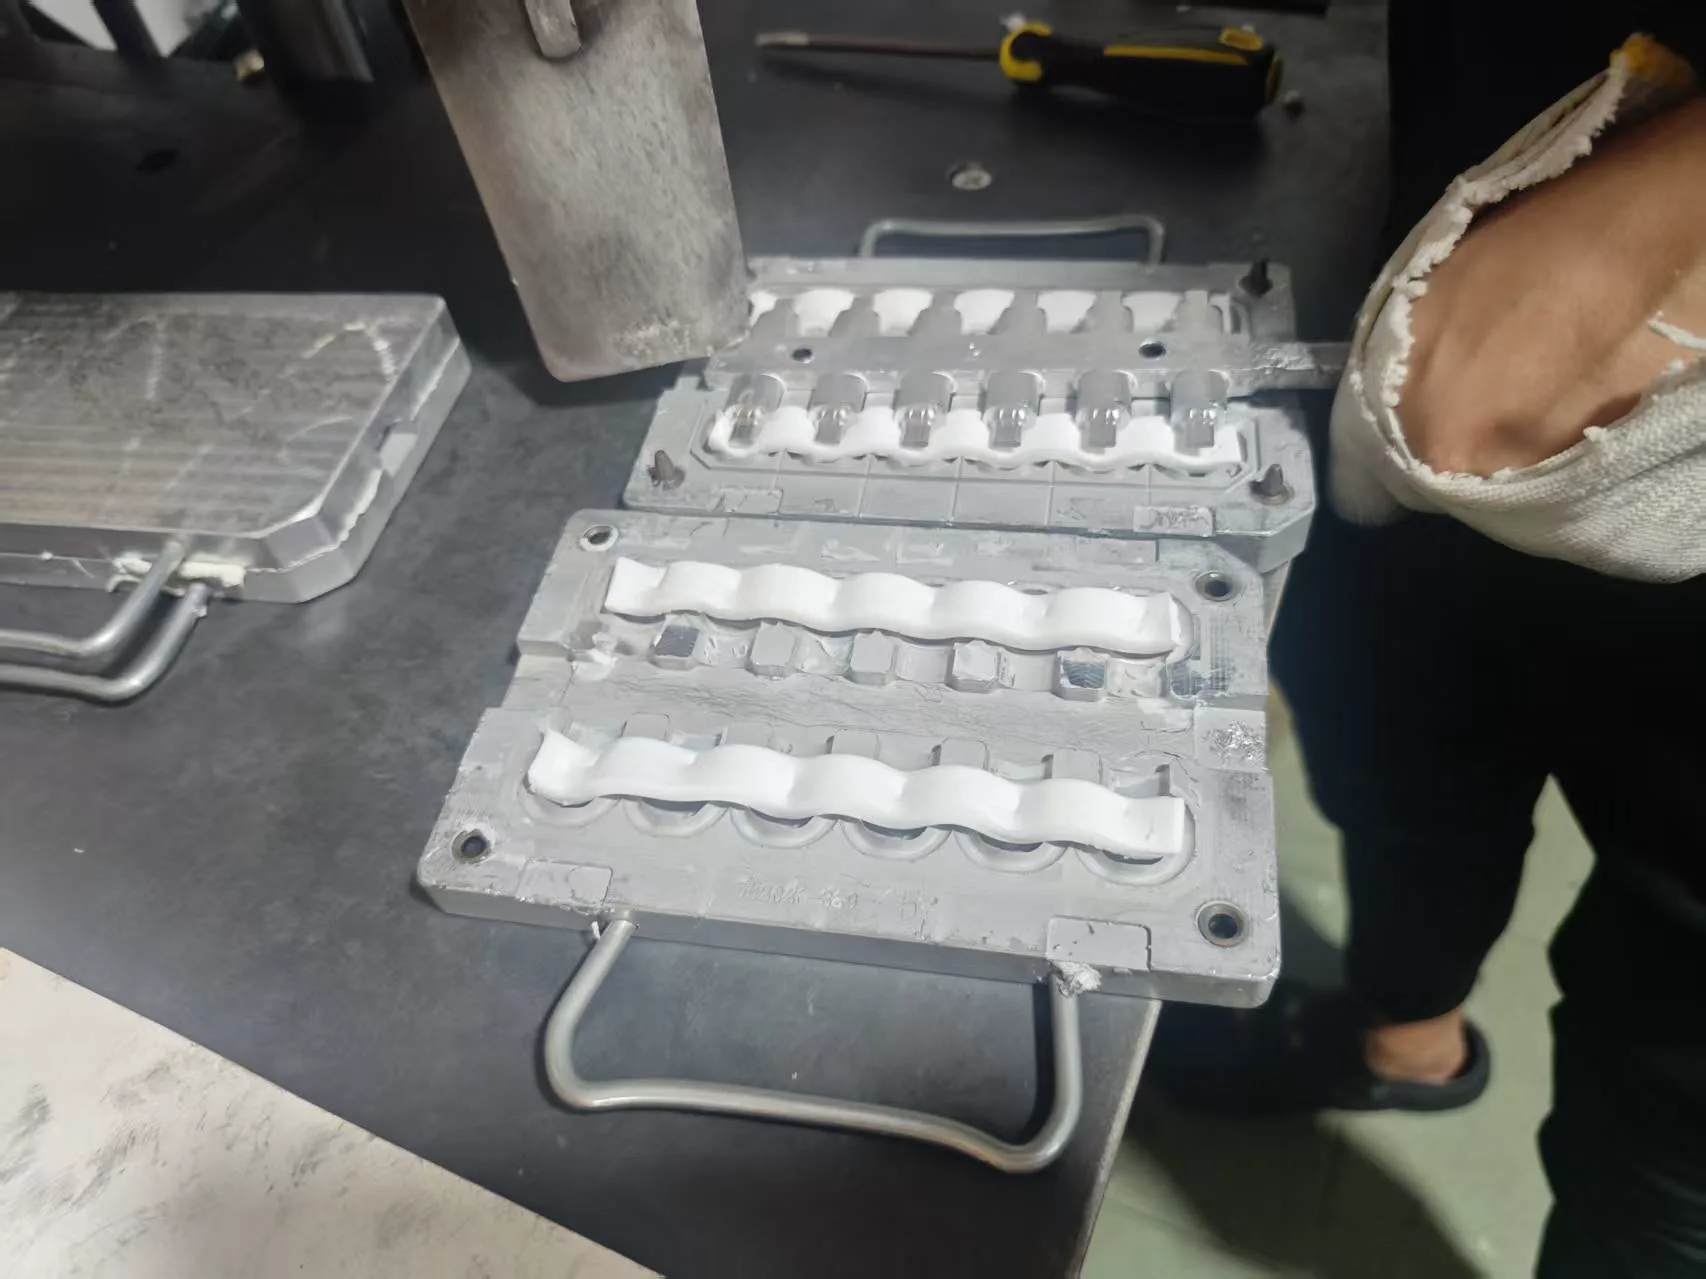
The footage also shows material being placed in a mold and a heat press in operation. Compression molding gives the silicone its main form. Mold construction, prepared material and the forming settings all affect the resulting part.
After forming, the piece may need further finishing or assembly according to the design. The video includes a view of multiple components in the workshop and ends with a finished piece held in hand. These images help show the transition from tooling and material to a physical product.
Molding review point: the prepared material, its placement and the molding conditions must suit the part and tooling. Confirm the finished result on the physical sample.
5. Approve the physical result
For a custom order, the useful final question is whether the finished part meets the agreed design. We recommend reviewing size, color, visible detail, edges, surface finish and any component fit on a physical sample. Record changes to the artwork or construction before using that sample as the production reference.
The same decision points help with different products, from molded silicone logo patches to custom shaped parts. Soft PVC products require their own material and production settings; we review those separately when a project calls for soft PVC.
What to send for a useful quote
Please send your artwork or reference image, intended size, expected quantity, preferred colors, product use, packaging needs and delivery destination. If the material or finishing method is undecided, tell us the look and feel you want to achieve. We can then discuss the tooling, sample and production steps appropriate for your design.
Explore our custom silicone products and silicone manufacturing service, or send your project details for a quote. For a closer look at one finishing decision, read our guide to silicone figure printing versus color filling.