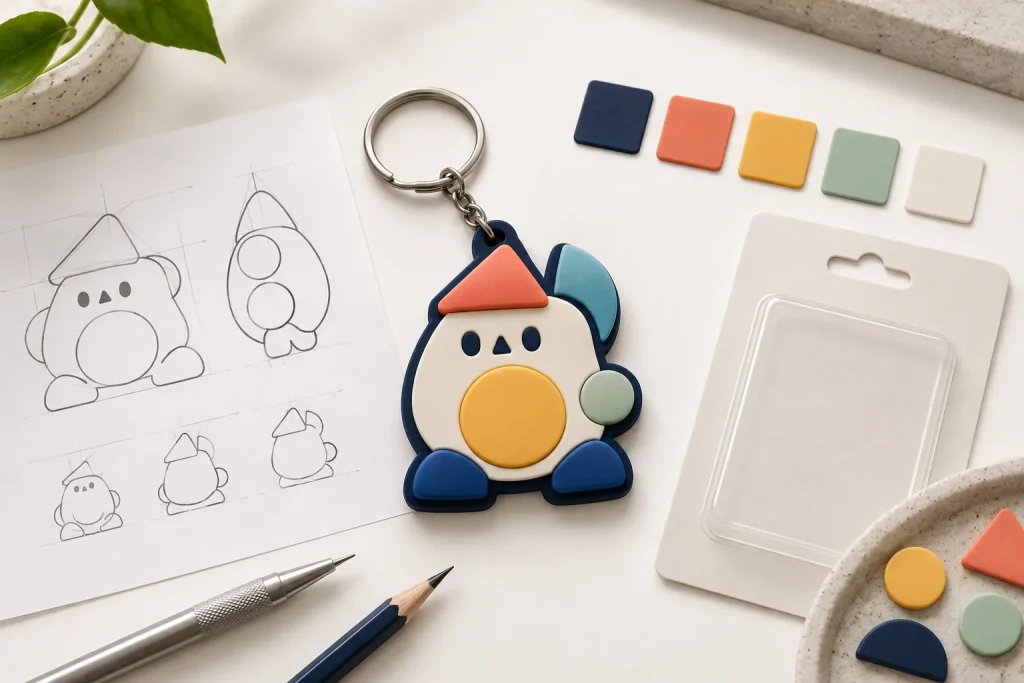
A custom soft PVC keychain is easiest to quote and review when the artwork answers a few production questions before a sample is made. This guide helps brands, event teams and product designers prepare an original keychain concept for discussion with a manufacturer.
Important material note: “rubber keychain” is often used as a broad retail term. If you need soft PVC specifically, state that in the brief. If the material is still open, ask the supplier to confirm the recommended construction before artwork is finalised.
1. Start with the product purpose
Before discussing lines and colours, decide what the keychain needs to do. A giveaway, retail accessory, membership gift and bag charm can all need different sizes, attachment options and packaging. A short purpose statement gives the artwork review a useful direction.
- Who will use it, and where will it be attached?
- Is the design a flat 2D shape or intended to show layered relief?
- Will it be sold, included with an event, or packed with another product?
- Does the project require a key ring, strap, clasp, ball chain or another attachment?
2. Choose a clear 2D or layered-relief direction
A 2D design normally communicates with enclosed colour areas and raised outlines. A layered or 3D-style direction can add visual depth, but small details need enough room to remain readable. Keep the intended final size visible on the drawing. The smaller the keychain, the more important it is to simplify tiny lettering, narrow gaps and very fine borders.
For a first review, a front-view drawing is often the most useful starting point. Include a side or layer note only where height or depth is essential to the design.
3. Define colours, outlines and readable details
Provide solid colour areas rather than relying only on gradients or screen effects. If colour matching matters, include Pantone references or approved physical references when available. Mark which outlines, facial details, icons or lettering must remain raised and visible.
A practical artwork check is to view the file at the intended physical size. If a line, hole or letter cannot be read at that size, simplify it before sampling. This reduces avoidable back-and-forth after a manufacturer has prepared the production interpretation.
4. Put the attachment and packaging in the same brief
The attachment hole and hardware influence both the silhouette and how the item is used. State the preferred hardware early, then include any packaging need: an individual bag, backing card, label, barcode area or bulk packing instruction. Packaging does not have to be fully designed at the first conversation, but it should not be an afterthought.
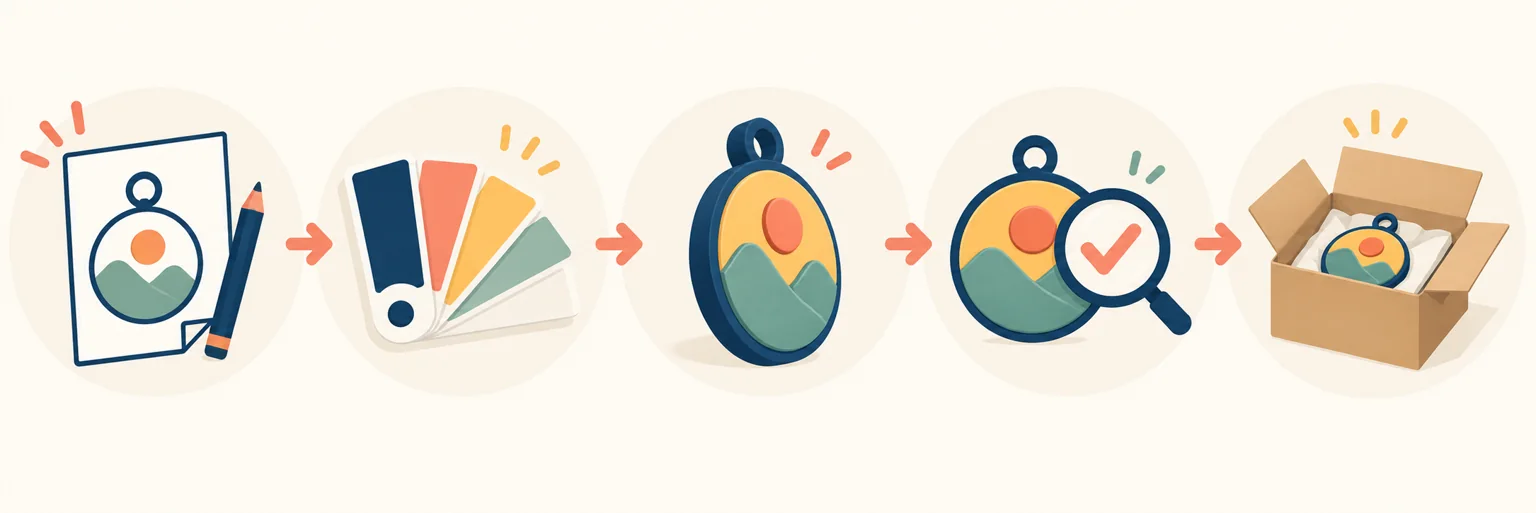
5. Review a sample against an agreed checklist
A sample is where the drawing becomes a physical object. Compare it against the approved artwork and brief rather than relying on memory. Useful checks include:
- overall shape, size and attachment placement;
- colour areas and the visibility of raised outlines;
- spelling, icons and small graphic details;
- edge finish, hole position and hardware connection; and
- the packaging format, where packaging is in scope.
Record any revision in one consolidated list. That makes the approval conversation clearer for both the buyer and the production team.
How to read the concept image
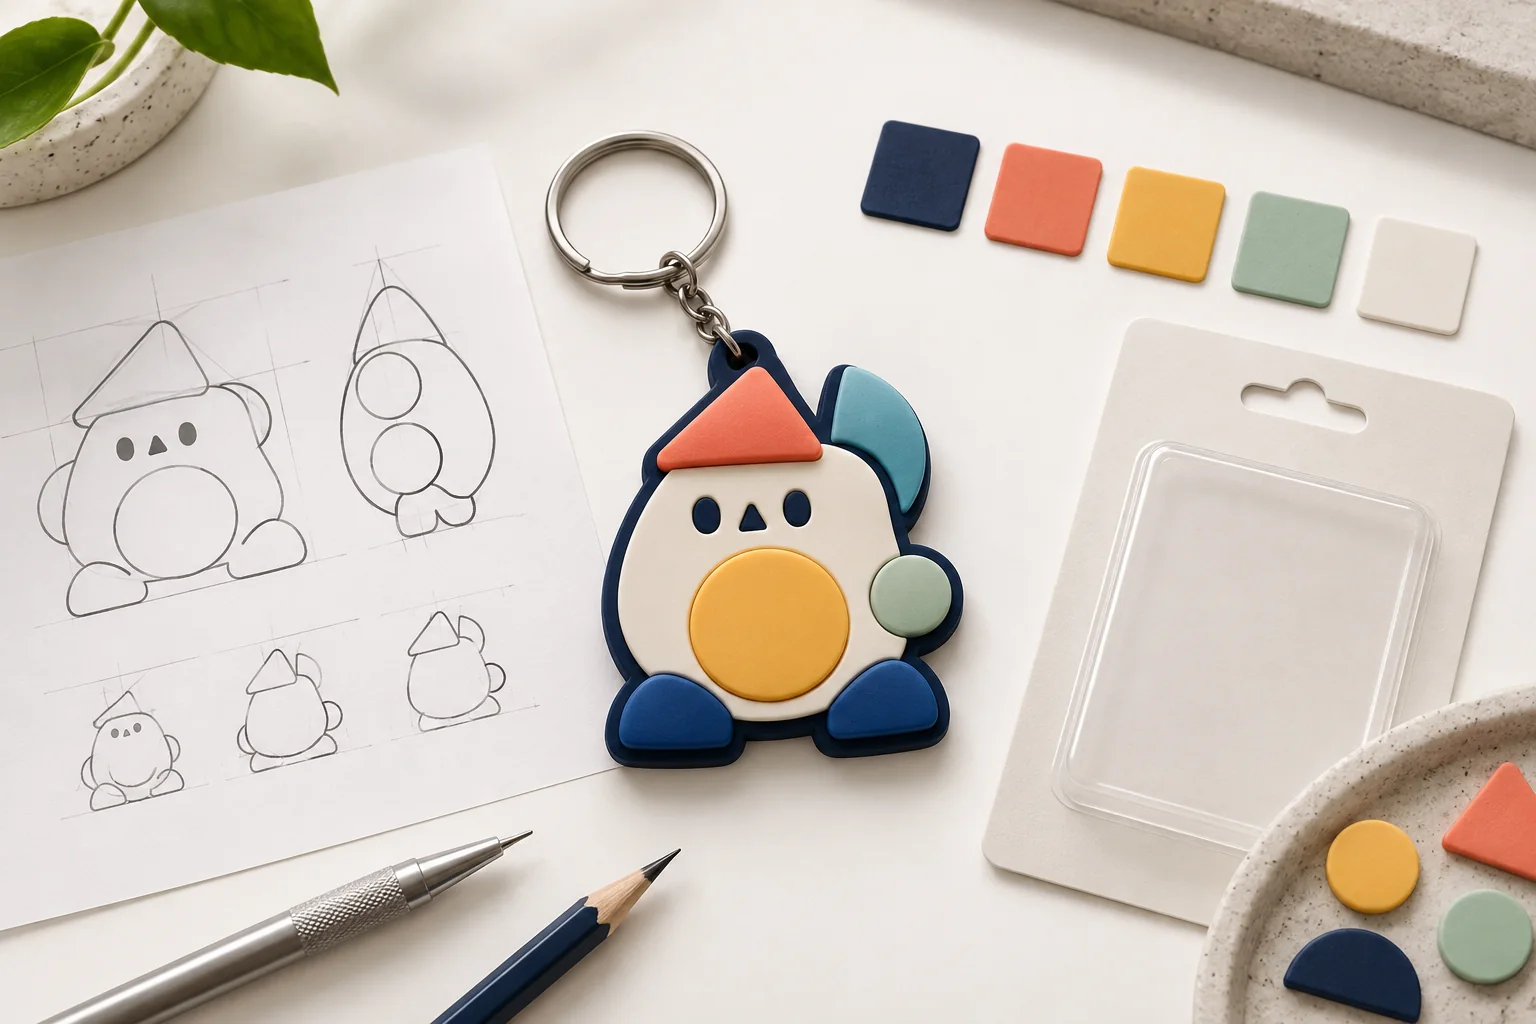
The image above illustrates the information a production brief needs; its sketch and model are separate visual concepts, not an approved matching drawing. Before production, the actual artwork and sample must match the same revision.
- Silhouette: define the outer cutting line separately from internal colour areas.
- Relief: label which features rise above the base and which stay recessed. A front view alone cannot define their depth.
- Colour swatches: give each colour a reference and name the areas that use it. A monitor preview is not a physical colour approval.
- Attachment: show the hole location and selected hardware. Check how the finished item hangs.
- Packaging: confirm whether the card, bag and assembly are included in the quotation.
A reusable artwork handover checklist
Send one dated reference PDF with the editable source file, if available. Ask the manufacturer which file formats are accepted. Convert or supply fonts as agreed, and label the approved revision so an older preview cannot be mistaken for the current design.
- Geometry
- Overall width × height in millimetres; front and back views; attachment point; areas requiring thickness or relief review.
- Colours
- Colour reference for each region; solid-colour interpretation of gradients; any part that requires a physical colour sample.
- Components
- Hardware type and finish; card or bag requirements; front/back printing or moulded details.
- Commercial brief
- Quantity per design and colourway; delivery destination; desired date; whether tooling, samples, packaging and freight should be quoted separately.
Example: turning a sketch into a reviewable brief
For an illustrative project, a buyer could request a 50 × 45 mm charm with five solid colours, a plain back and a key ring. These dimensions are an example, not a manufacturing tolerance or a confirmed product specification. The next step is to mark the colour regions, ask which fine lines need adjustment, and agree the attachment position before approving tooling.
If a tiny mark is difficult to reproduce, compare a simplified drawing with the original at actual size. Record the accepted change in the artwork revision rather than leaving the decision only in a chat message.
Sample approval: what a photograph cannot settle
A photo can help review shape, placement and spelling. Texture, flexibility, colour under agreed lighting, and hardware behaviour may require a physical sample. Agree which checks need a sample in hand and which can be approved from images.
Use a simple approval record: artwork revision → sample reference → requested corrections → approved reference → approval date. Do not describe a sample as approved while corrections remain open. Confirm whether any change affects tooling cost or the production schedule.
What to send for a more useful quotation
Send the best available artwork, desired size, approximate quantity, target use, preferred attachment, colour references, packaging needs, destination and any target date. It is fine if the first file is a sketch; simply state which parts are fixed and which parts need design feedback.
Artwork rights and case-study privacy
Only submit artwork you own or are authorised to use. A production discussion, sample or portfolio post does not automatically grant permission to publish third-party characters, logos or confidential customer designs. For public process content, use original generic samples, remove identifying marks and obtain written permission where a client product must be shown.
Next step
See our custom PVC keychain service page for a project overview, or compare other custom soft PVC product options. When you are ready, send the artwork and project outline through the quotation form.
FAQ
Can I ask for a quotation with only a sketch?
Yes. A sketch can begin the conversation, especially when you also provide an intended size, approximate quantity, attachment preference and use case. Final production details should be confirmed before approval.
Is a rubber keychain always soft PVC?
Not necessarily. “Rubber keychain” can describe several flexible-looking products in retail language. Name the material you want, or ask for a material recommendation based on your design and use.
Can a customer design be used in a public case study?
Only with the relevant owner’s permission. Otherwise, show a neutral production process, an original non-identifying sample or an AI-generated explanatory illustration labelled as such.