Custom adjustable silicone wristbands need more than a logo and a flat length. The fastening position, adjustment holes, tail slot and hardware back all affect how the finished band sits on the wrist. Before approving a bulk order, confirm the usable fit range on a physical sample—not just on a drawing.
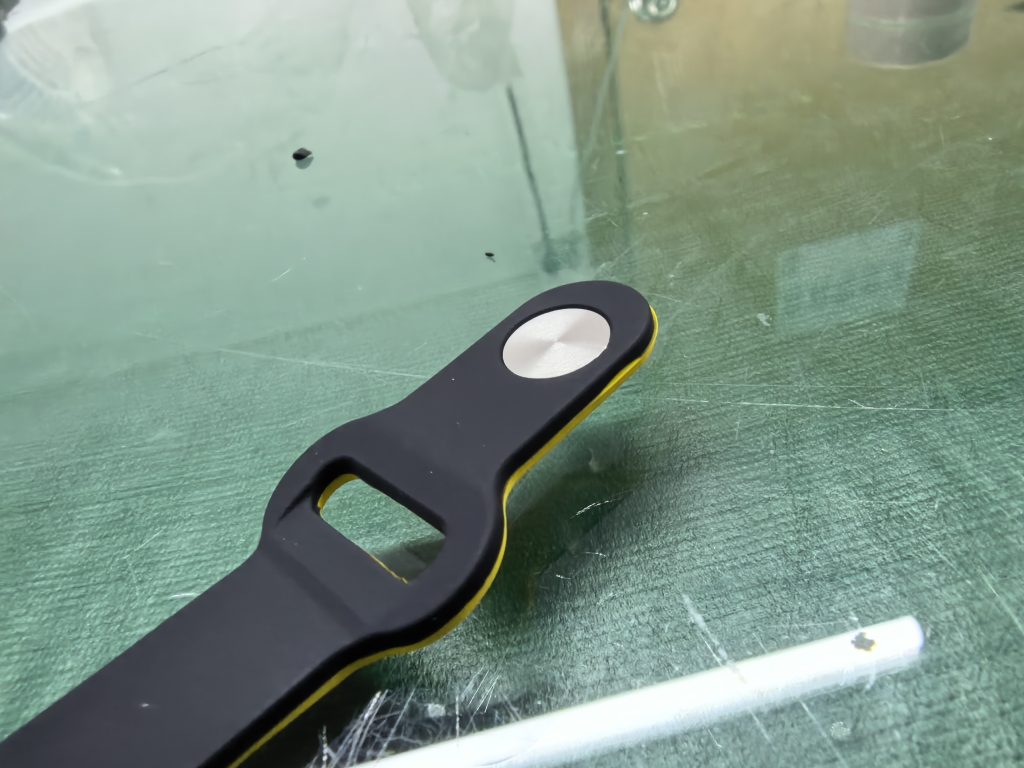
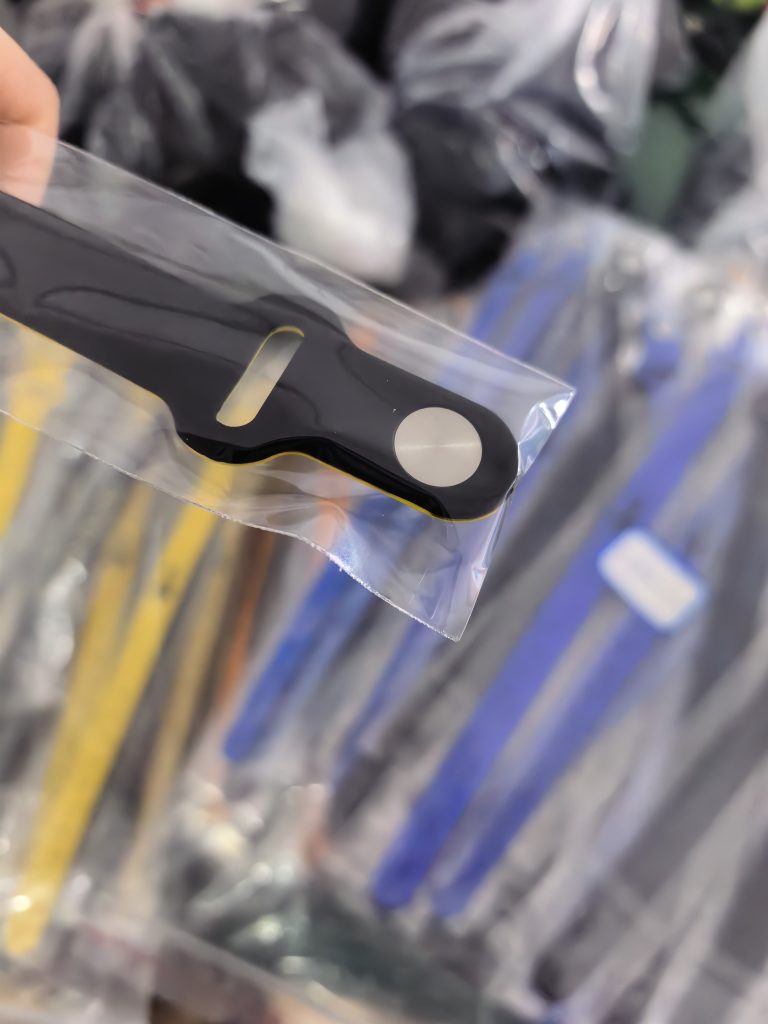
This guide uses two real workshop photographs to explain the details buyers should discuss. The close-ups show the back of a fastening end and its tail slot; they do not show the complete hole pattern or establish a verified wrist-size range.
1. Adjustable wristband or closed-loop band?
A closed-loop silicone wristband normally passes over the hand before resting on the wrist. An open, adjustable design closes around the wrist, so both the fastened circumference and the fastening mechanism need attention. Choosing an adjustable construction does not automatically make a band suitable for every wearer.
Start with the intended use—such as event merchandise or branded gifts—and the wearer group. If your project needs a simple continuous band, see our silicone wristband size and logo guide. For an adjustable design, add closure and hole-position information to that brief.
2. Define usable fit, not only overall length
The total length of a band laid flat is not the same as its internal circumference when fastened. The overlap, chosen hole, fastening geometry and band thickness all affect the worn shape. A longer strip alone does not tell a buyer the smallest or largest comfortable setting.
- State the wrist measurements you want the sample to accommodate.
- Mark overall length, width and thickness on the drawing.
- Identify the smallest and largest intended fastening positions.
- Agree how the fastened internal circumference will be measured.
- Check the physical sample on representative wrist sizes before confirming a size claim.
Avoid describing the product as “one size fits all” unless the intended range has been meaningfully checked. If a project includes children or needs specific safety requirements, identify those requirements before choosing the construction; an adjustable band is not automatically suitable.
3. Confirm adjustment holes and the tail slot together
For a stud-and-hole construction, hole size and spacing must work with the selected fastener. The remaining material around each hole also needs review. Do not select dimensions from a photograph: use a dimensioned drawing and confirm the result in the sample.
The slot at the fastening end has a separate role from the adjustment holes. Depending on the agreed design, it can route the loose tail. Ask for a demonstration of the intended fastening sequence, then check the shortest and longest settings: is the tail retained, does it lie comfortably, and does it cover any artwork?
Leave the fastening and overlap areas clear in the artwork layout until these positions are agreed. A logo that looks centered on a flat drawing can disappear under the overlap when the band is worn.
4. Inspect both sides of the fastening hardware
The outside of a fastener is only half the review. The back can contact the wrist, so inspect its seating, edge finish, movement and any raised points. Confirm the proposed hardware material and finish separately; a silver-colored surface is not evidence of stainless steel, a nickel-free finish or a skin-safety certification.
5. Agree a sample check before bulk production
Review an assembled sample, not only a molded strip or a rendering. Record what was checked and which revision was approved. Suggested checks include:
- Fit: try the intended end positions and the normal wearing position.
- Fastening: open and close the band using the intended method; check for difficult engagement or unintended release.
- Holes and slot: inspect for tearing, distortion or rough edges after the agreed handling checks.
- Skin-facing surfaces: check the band edges and hardware back for uncomfortable contact.
- Artwork: review readability and position while the band is fastened, including where the tail overlaps.
- Finish: agree any rubbing, flexing or cleaning checks relevant to the selected logo process and use.
Test methods, loads, cycle counts and acceptance limits should be agreed for the project. These photographs do not document a durability test or certification. Our sample approval checklist helps organize the approval record, while the wristband manufacturing guide explains the wider production and logo workflow.
Buyer questions
Can one adjustable design replace several wristband sizes?
Possibly, within an agreed and checked fit range. Confirm the smallest and largest settings, tail position and wearer comfort on samples. Do not assume an adult design will also fit children.
Can the logo be printed or molded?
The proposed artwork and band construction need review. Printing, molded lettering and color filling can involve different tooling and finishing steps. Confirm the route, logo position and finish checks before quoting; do not assume every option has the same price or lead time.
What is the minimum order quantity?
We confirm MOQ after reviewing the construction, colors, artwork and quantity breakdown. Send the quantity you are considering and ask whether the minimum applies to the whole order or each variant. Tooling, samples and delivery timing are also confirmed for the specific project.
Request a custom adjustable wristband quote
Send a sketch or reference with the following details. Mark undecided items as “please advise” so we can identify what needs confirmation.
- Intended use, wearer group and target wrist-size range.
- Overall length, width, thickness and preferred closure construction.
- Hole layout, tail-slot position and fastening references, if available.
- Your own or authorized logo artwork, placement and color references.
- Quantity by size, color and design; packaging requirements.
- Delivery country, target date and sample approval requirements.
The button opens an editable email template; it does not send automatically. Attach your artwork before sending. You can also use our contact page or explore custom silicone product services.